
AI Features
Edit an image with AI
Modify a badge's current image with AI — remove the background, change colors, or restyle it.
The Edit AI Image dialog changes the image already on your badge — whether you uploaded it, picked it from the library, or generated it with AI. It uses the same guided fields as the generator, plus a live Preview of the result.
-
Open the badge image picker
Open your badge in Sami Product Labels. In the Content panel of the Design tab, click Change Image below the badge image. The Select Image panel slides in from the right.
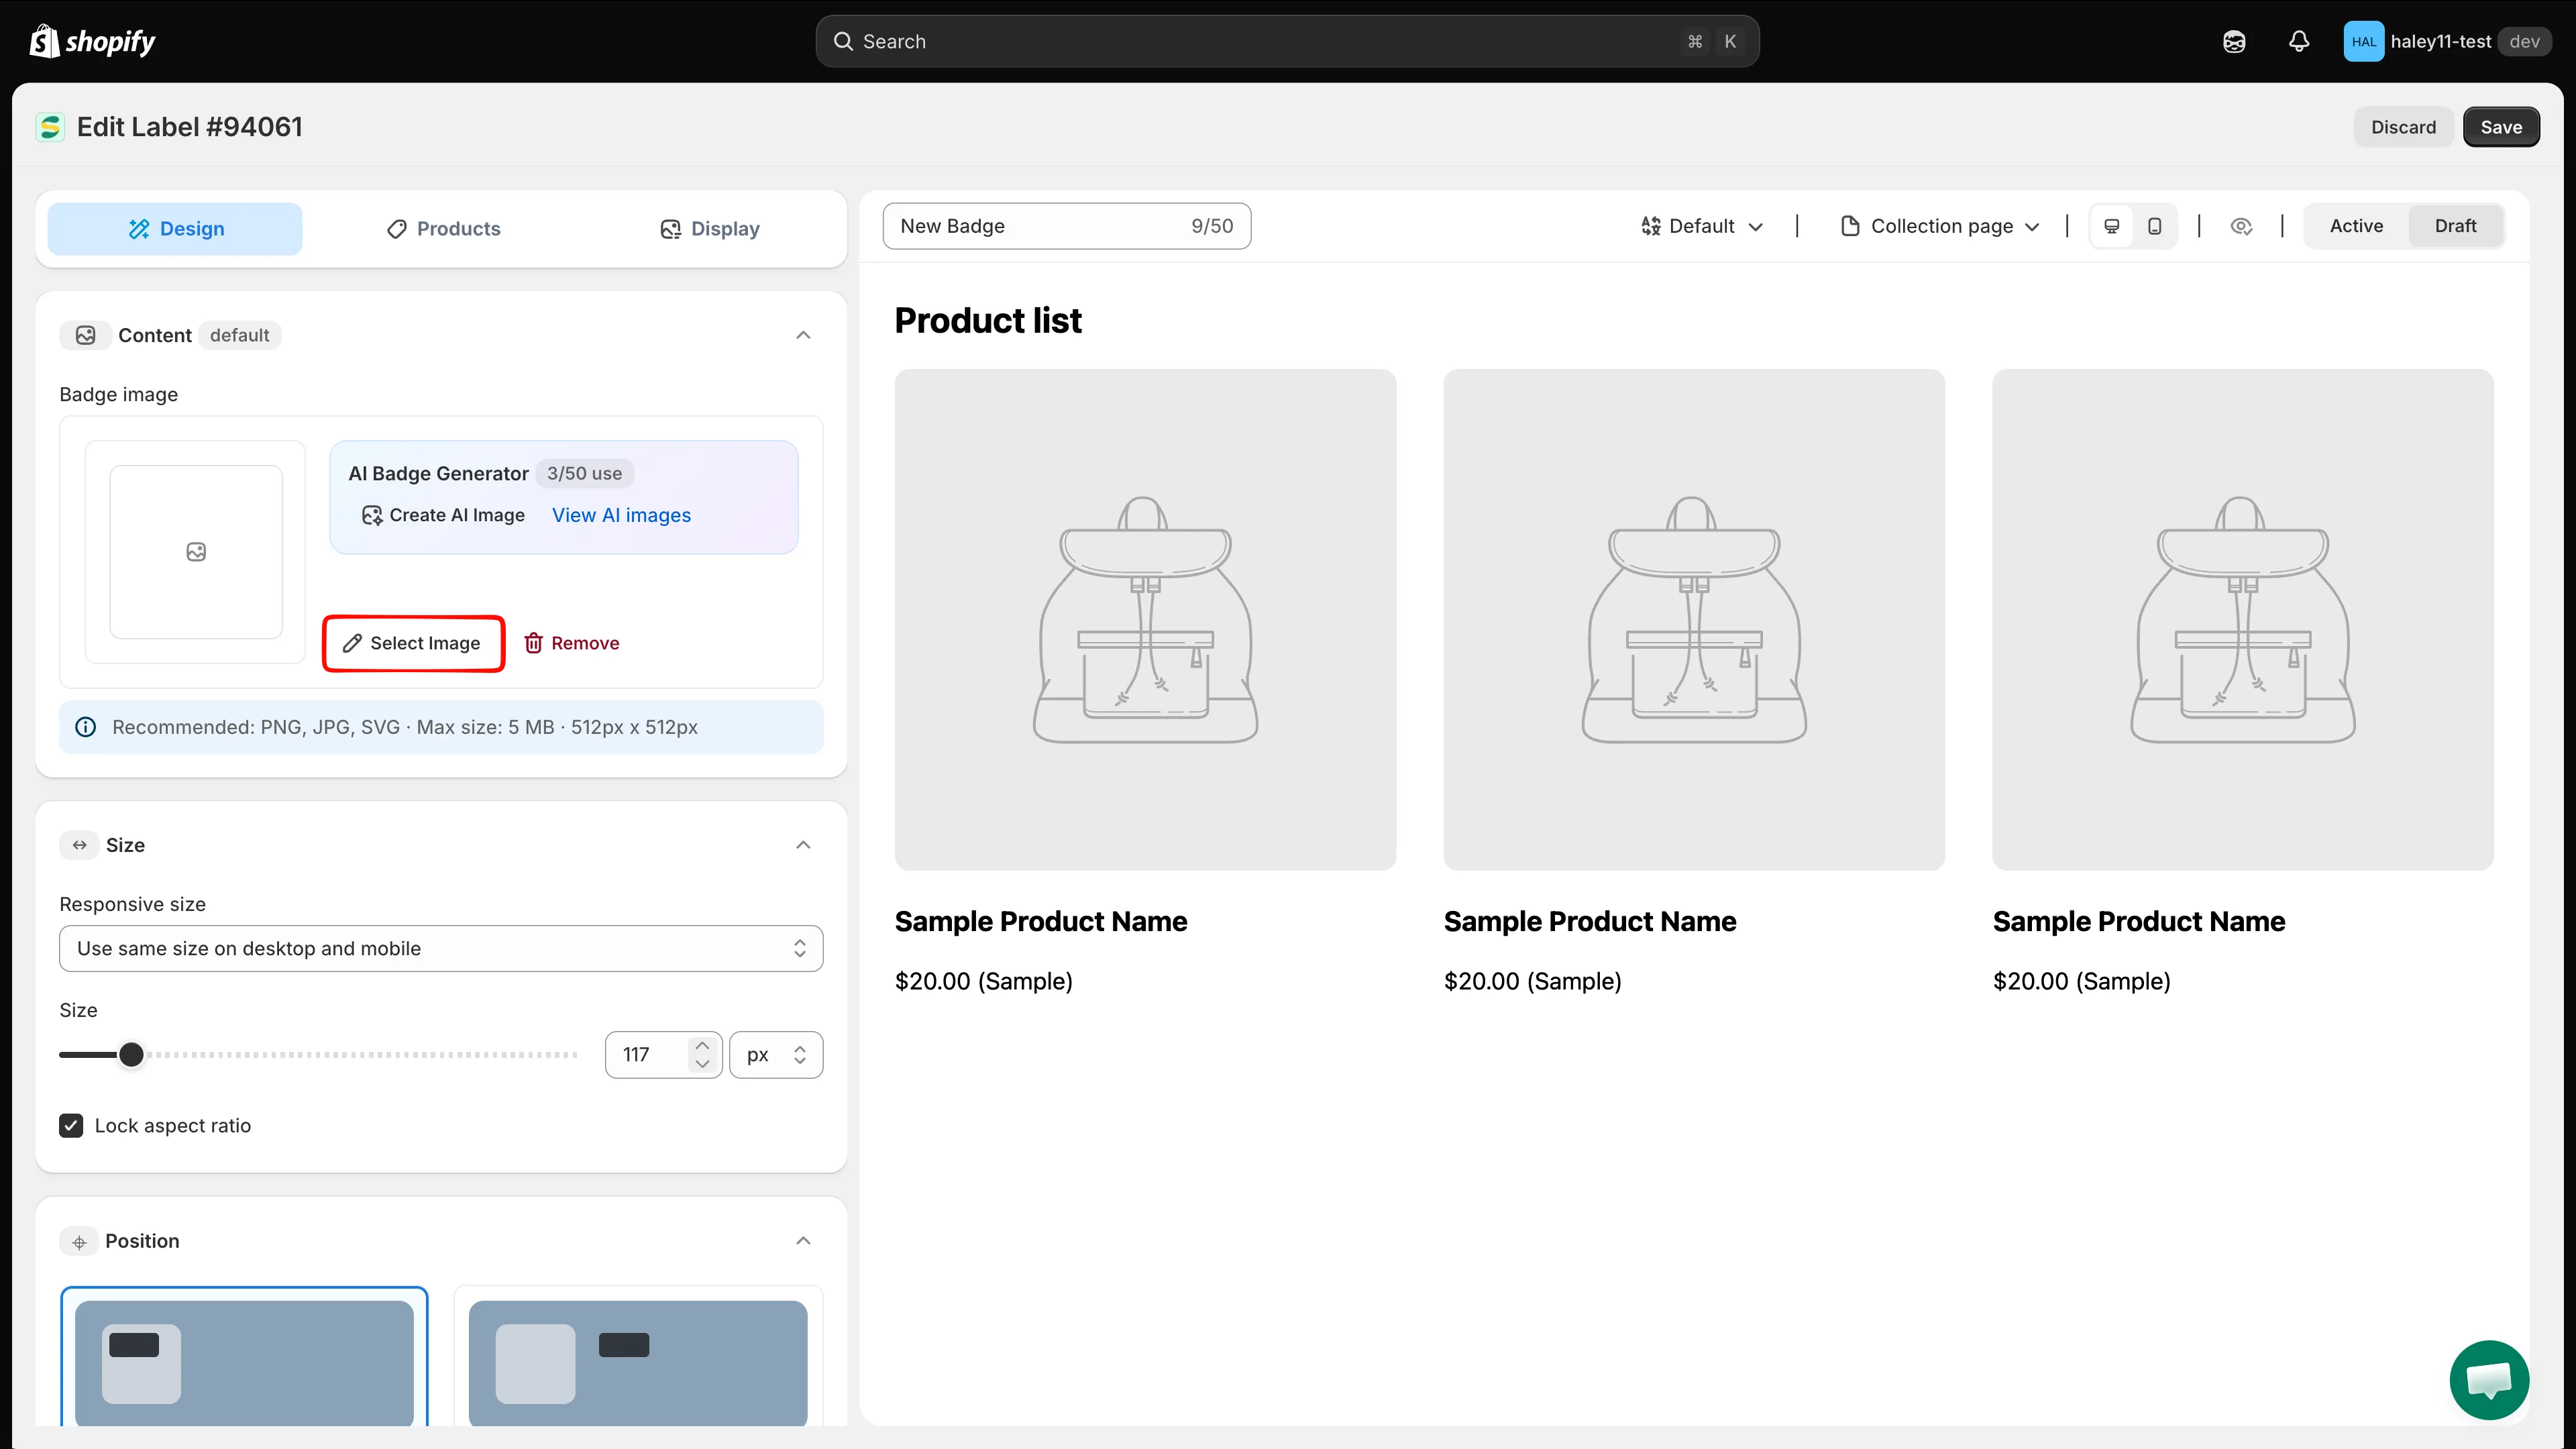
Click Change Image to open the image picker.
-
Click Edit with AI
At the bottom of the Select Image panel, next to Cancel and Select Image, click Edit with AI. The Edit AI Image dialog opens with your current image already loaded in the Preview panel on the right.
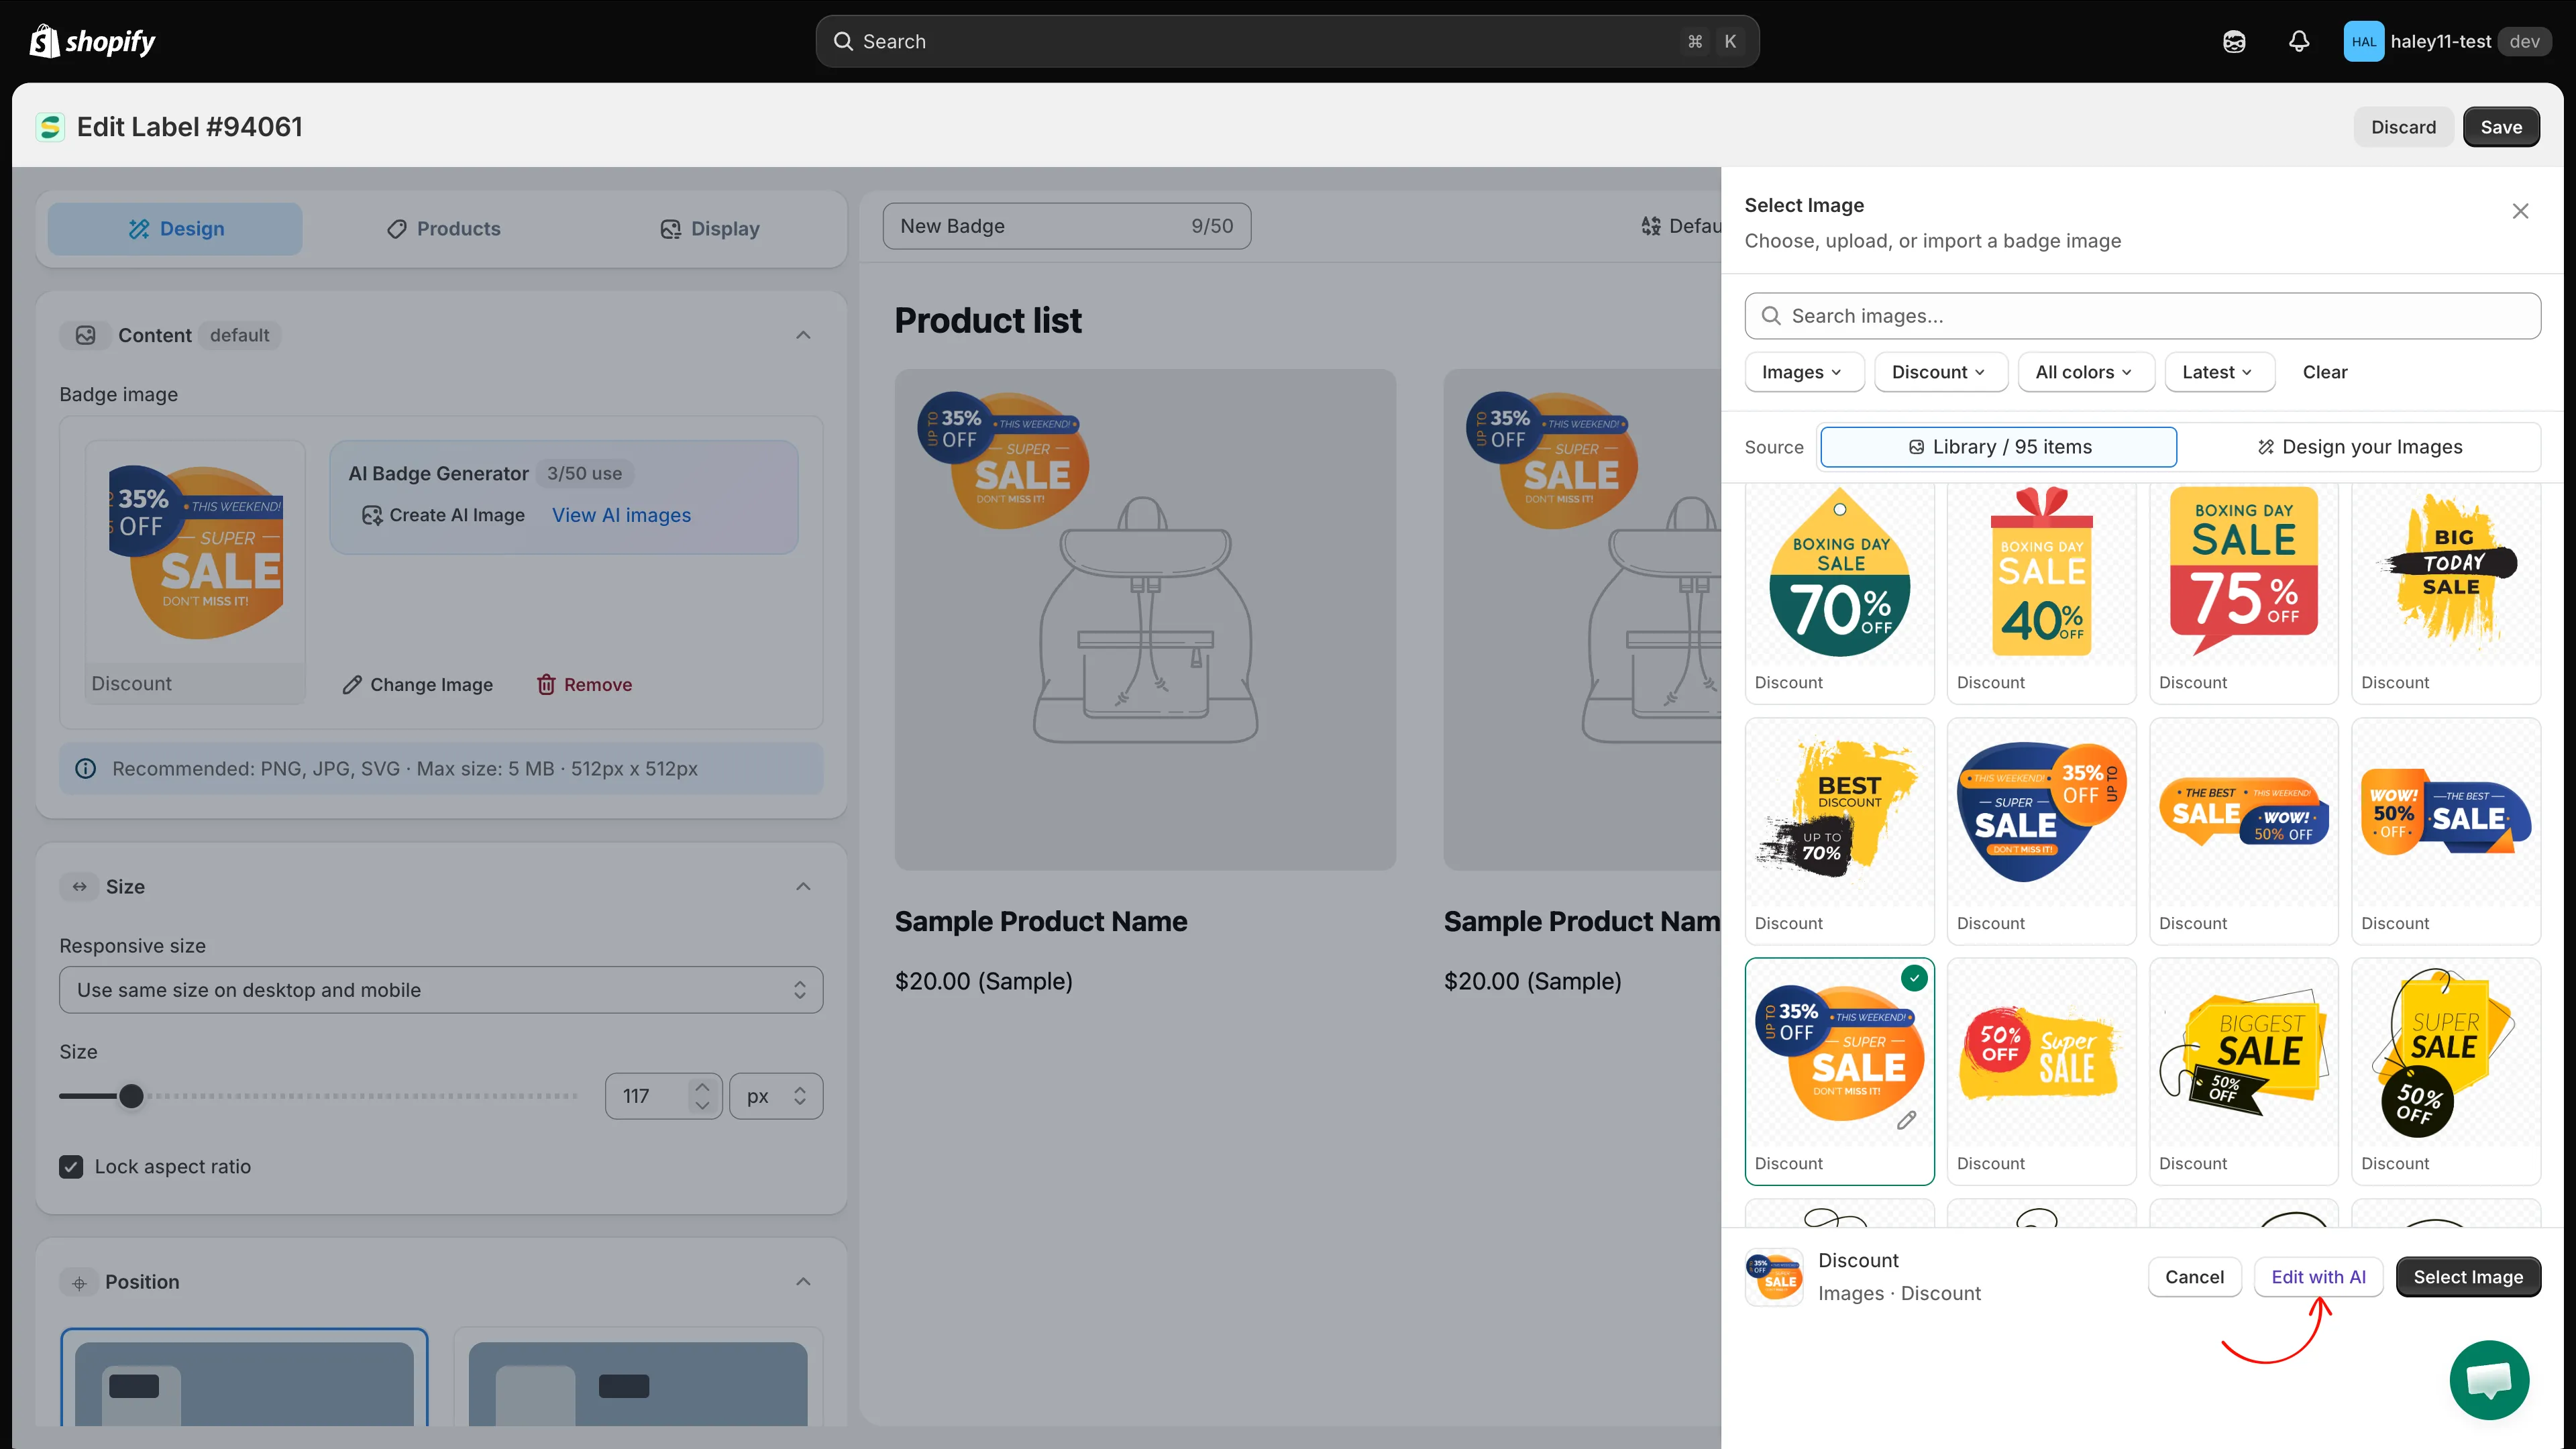
Edit with AI sits in the footer of the image picker.
-
Describe the change with the guided fields
Fill in the fields that describe how the image should look afterwards. Leave the rest blank.
Field Example Background color Red, green, blue, etc. Shape Circle, round corners, etc. Text Save 36% Text color White, black, etc. Illustration Related to Black Friday 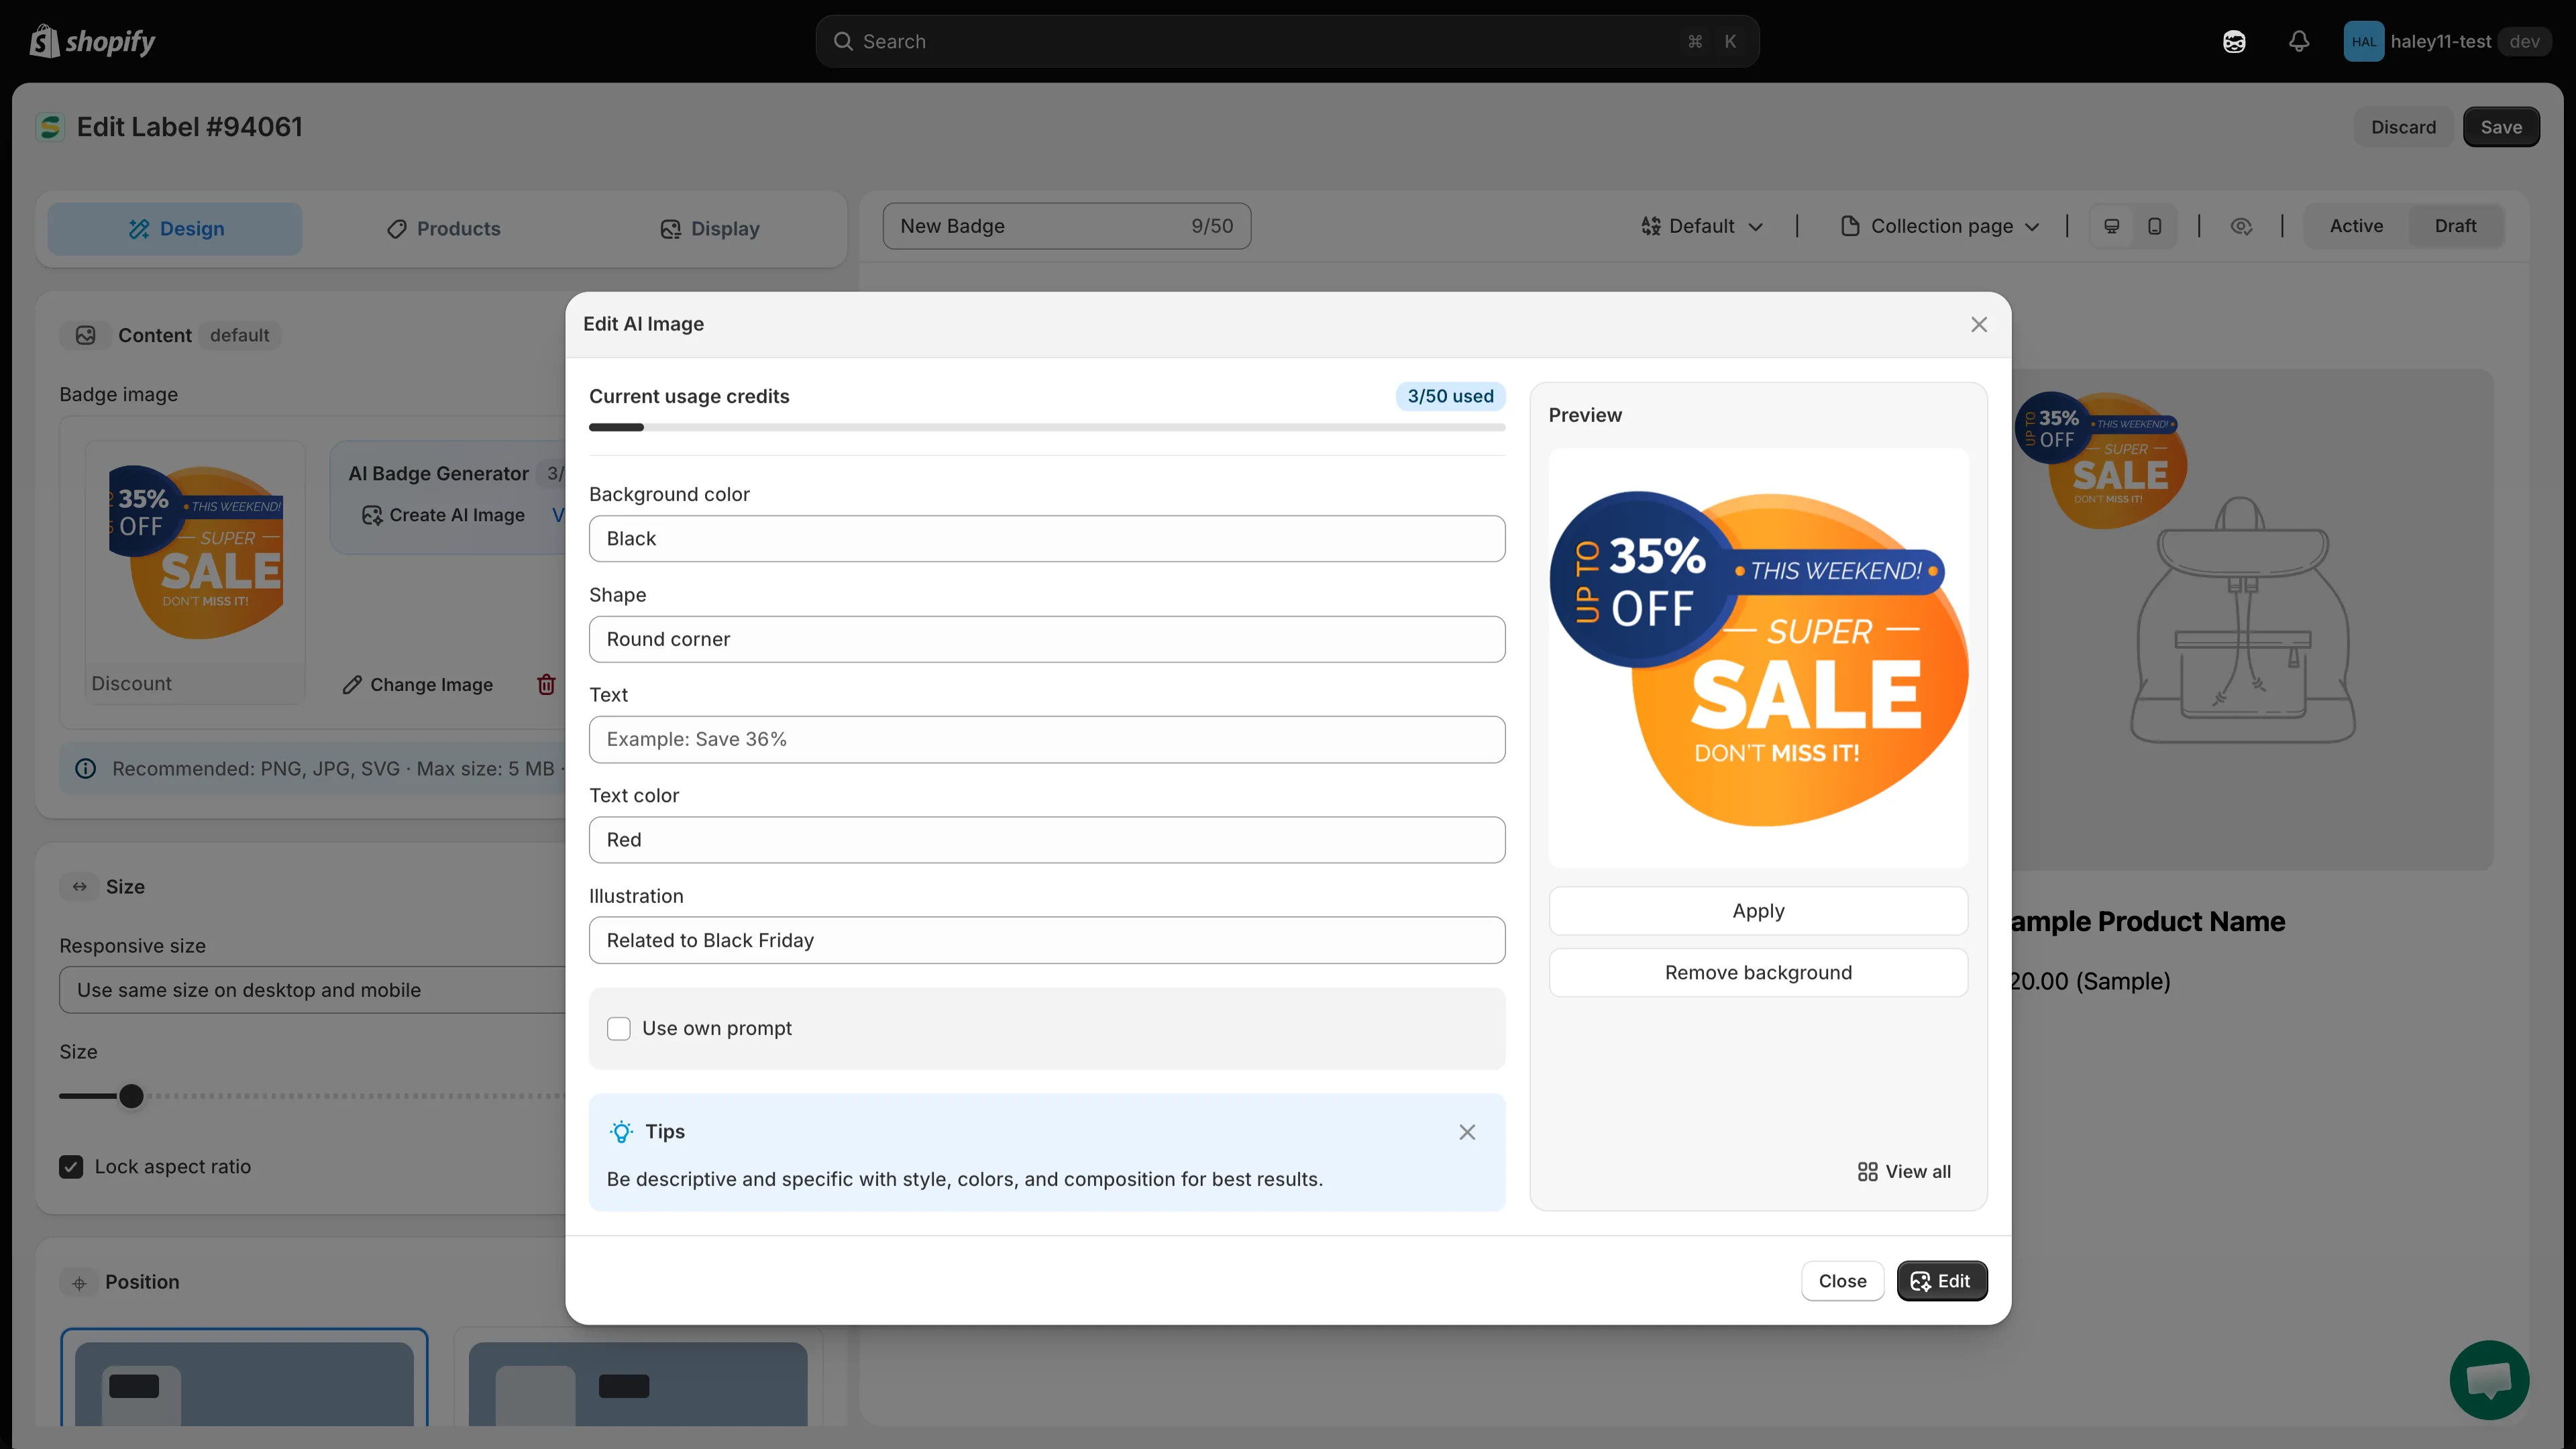
Describe the change on the left; the current image sits in the preview on the right.
-
(Optional) Write your own prompt instead
Tick Use own prompt to describe the edit in a single free-form text area instead — for example, “make the ribbon gold” or “flatten this into a minimalist style.”
-
Click Edit
Click Edit at the bottom of the dialog. Close dismisses it without changing anything.
-
Review and apply
Check the result in the Preview panel. If it is not right, adjust the fields or prompt and click Edit again.
Action Result Apply Uses the edited image on your badge. Remove background Strips the background from the current image. View all Opens your All AI images gallery. Once applied, carry on adjusting size, position, and the rest of the badge in the editor — then click Save.
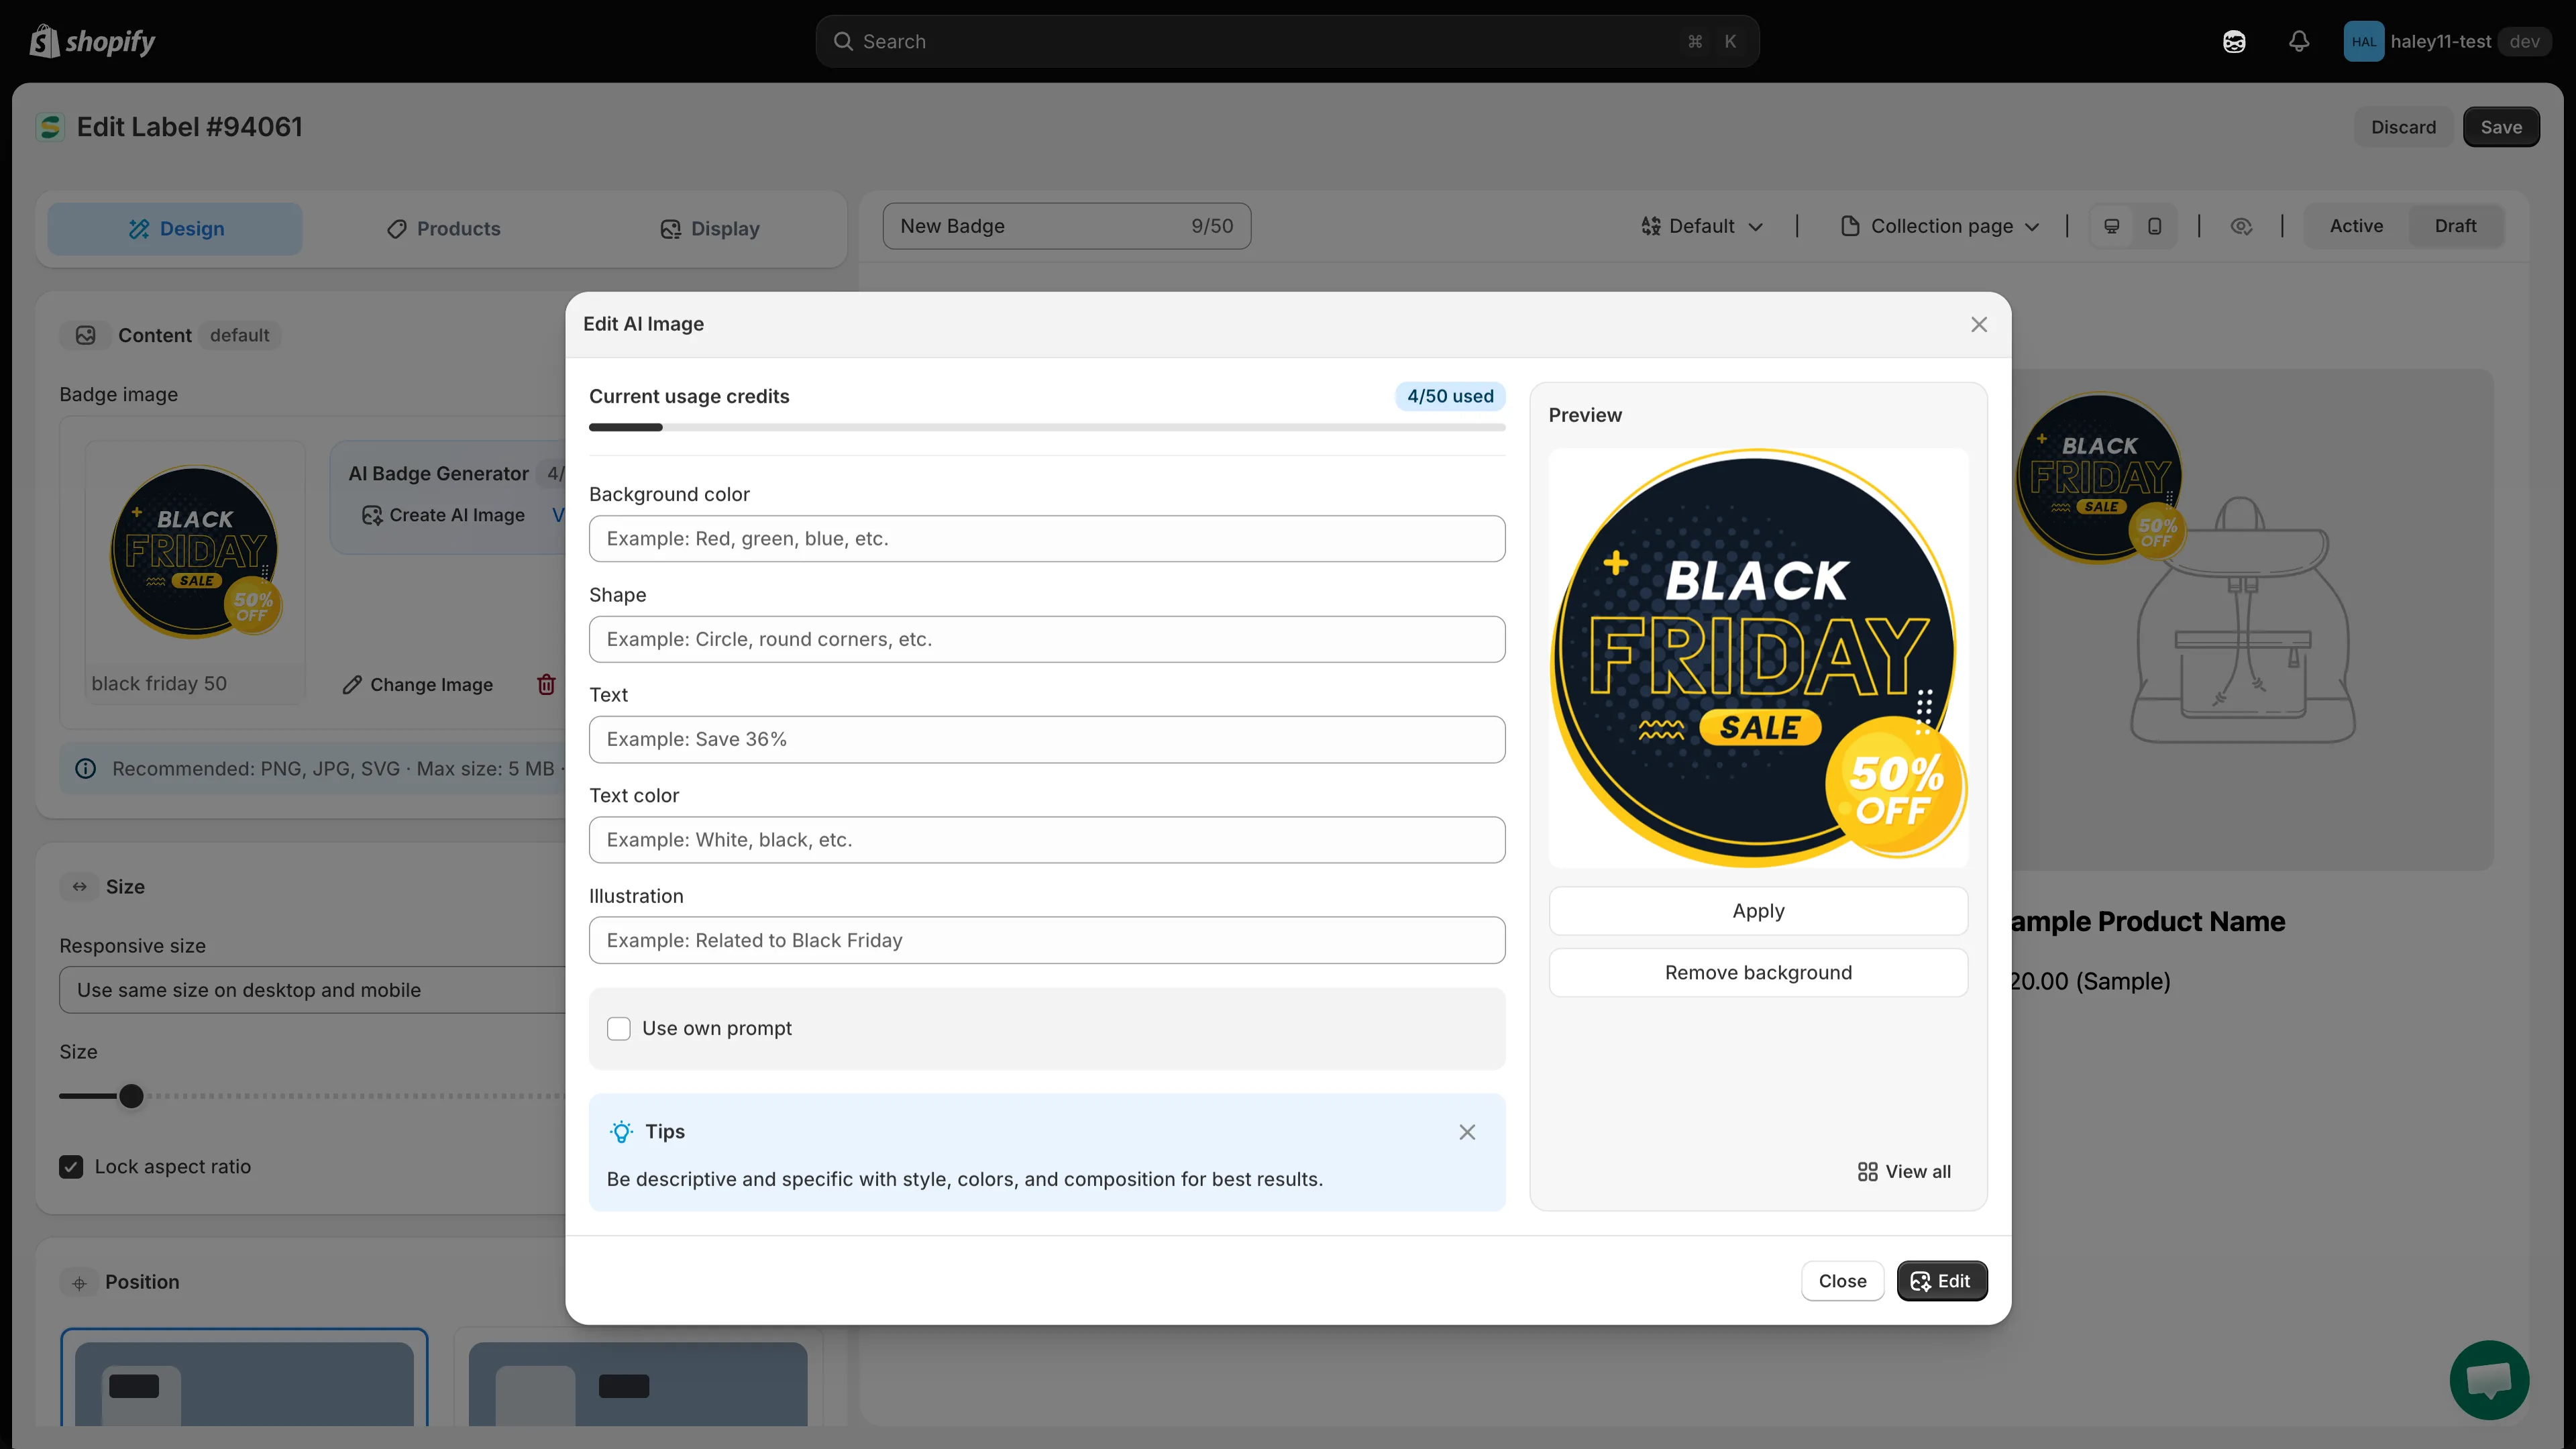
Review the edited image before applying it to the badge.
Common editing use cases
Section titled “Common editing use cases”| Use case | How to do it |
|---|---|
| Background removal | Click Remove background — no prompt needed. |
| Color adjustment | Background color or Text color, or a prompt like “change the red elements to blue”. |
| Shape change | Shape, for example “circle” or “round corners”. |
| Text change | Text and Text color. |
| Style change | Own prompt, for example “make the image look more minimalist”. |
Next steps
Section titled “Next steps”- Generate an AI image — create a brand-new badge image from a description.
- AI Features overview — return to the AI features hub.