
Settings
Application rules
Set the reference code on new applications, catch duplicate companies, decide whether new locations need your approval, and choose how long old applications are kept.
Settings › Application rules holds four store-wide rules in Sami B2B Onboarding: the format of each application’s reference code, what happens when a company applies twice, whether locations that buyers add wait for you, and how long finished applications are kept. Only admins can open it.
Set the reference format
Section titled “Set the reference format”Every application gets a reference code, such as APP-20261005-K7Q2M. Your team sees it in the New application email. Signed-in buyers see it on the notice that tells them their application is being reviewed, and on the application page in their customer account. You can add it to any application email with the {{reference}} merge tag. The code has three parts: your prefix, the date the application arrived, and a random part that makes it unique.
-
Open Application rules
In the app, click Settings, then click Application rules in the list on the left. The Reference card is at the top.
-
Type your prefix
In Prefix, type 2 to 8 letters or digits, for example
WSfor wholesale. Letters turn into capitals as you type, and spaces or symbols are dropped. Leave it empty to keepAPP. -
Pick the length of the random part
In Random length, pick a number from 4 to 8. This is the part that makes each code unique.
-
Check the preview and save
The Preview line at the bottom of the card shows a code in your new format, with today’s date. Click Save in the save bar. The next application that arrives gets a code in the new format.
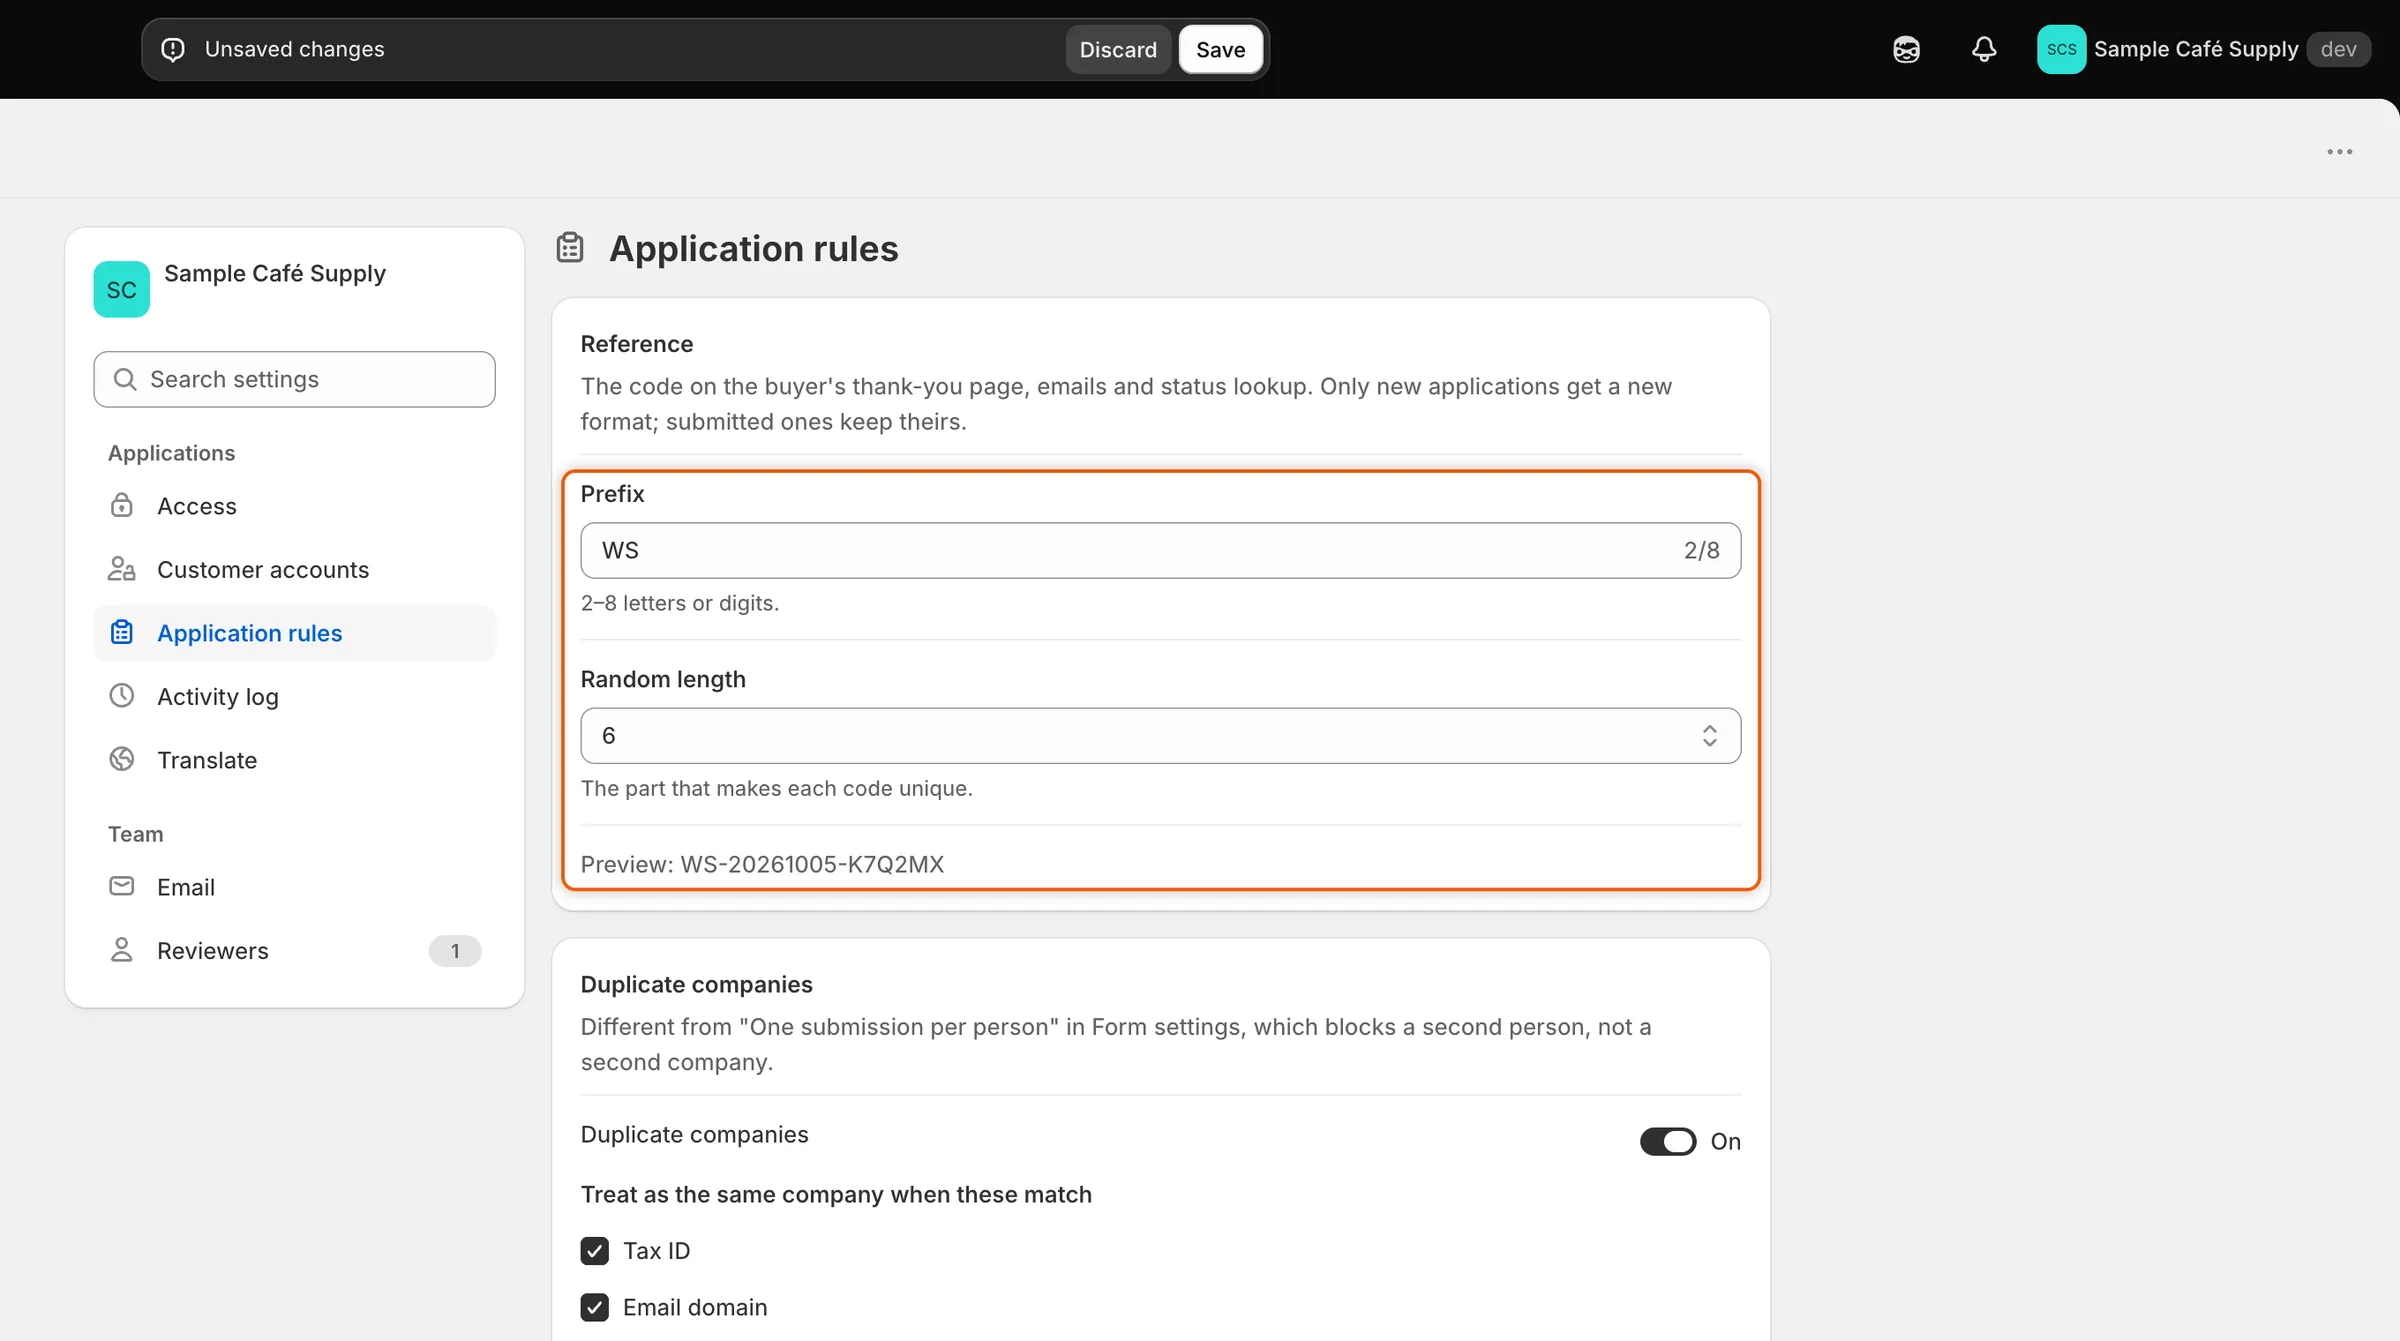
The Preview line shows how the next application’s code will look before you save.
| Setting | What it does | Default |
|---|---|---|
| Prefix | The letters or digits at the start of the code. 2 to 8 characters. | APP |
| Random length | How many random characters end the code. 4 to 8. | 5 |
Applications you already have keep their codes. Only new applications get the new format. The random part never uses characters that are easy to misread, such as 0 and O or 1 and I.
Catch duplicate companies
Section titled “Catch duplicate companies”When a buyer applies, the app can check whether their company is already a customer of yours or has already applied. It compares the new application with your companies, except those removed from B2B, and with other applications that aren’t rejected or abandoned.
-
Turn the check on
In Settings › Application rules, find the Duplicate companies card. Turn on the Duplicate companies switch. It’s on by default.
-
Choose what counts as the same company
Under Treat as the same company when these match, tick one or more boxes. The app tries them in this order and stops at the first match.
Box Counts as a match when Default Tax ID The answer to the form’s tax ID field is the same. On the Wholesale application this is Tax registration ID. Spaces and punctuation are ignored. On Email domain The buyer’s email ends in the same domain, for example @example.com. Free webmail addresses that anyone can sign up for are ignored.On Legal name, ignoring case and suffixes like Co., Ltd The company name is the same once capitals, punctuation and words like Co., Ltd, Inc or LLC are set aside. “Acme Supply Co.” and “ACME SUPPLY” match. Off -
Choose what happens on a match
Pick one option under When a match is found.
Option What happens Flag it and show the existing company side by side The application arrives as usual. Its page shows a Possible duplicate card that compares the two, and your automation rules leave it for a person to decide. This is the default. Offer to add the buyer to the existing company The same as flagging. When the match is one of your companies, the card also has an Add buyer to button named after that company, for example Add buyer to Acme Supply Co. It makes the buyer a contact of that company in Shopify, with the Ordering only role, instead of creating a second company. Block the submit and tell the buyer to contact sales The buyer can’t send the form. They see “Your company already has an account with us. Contact us and we’ll add you to it.” 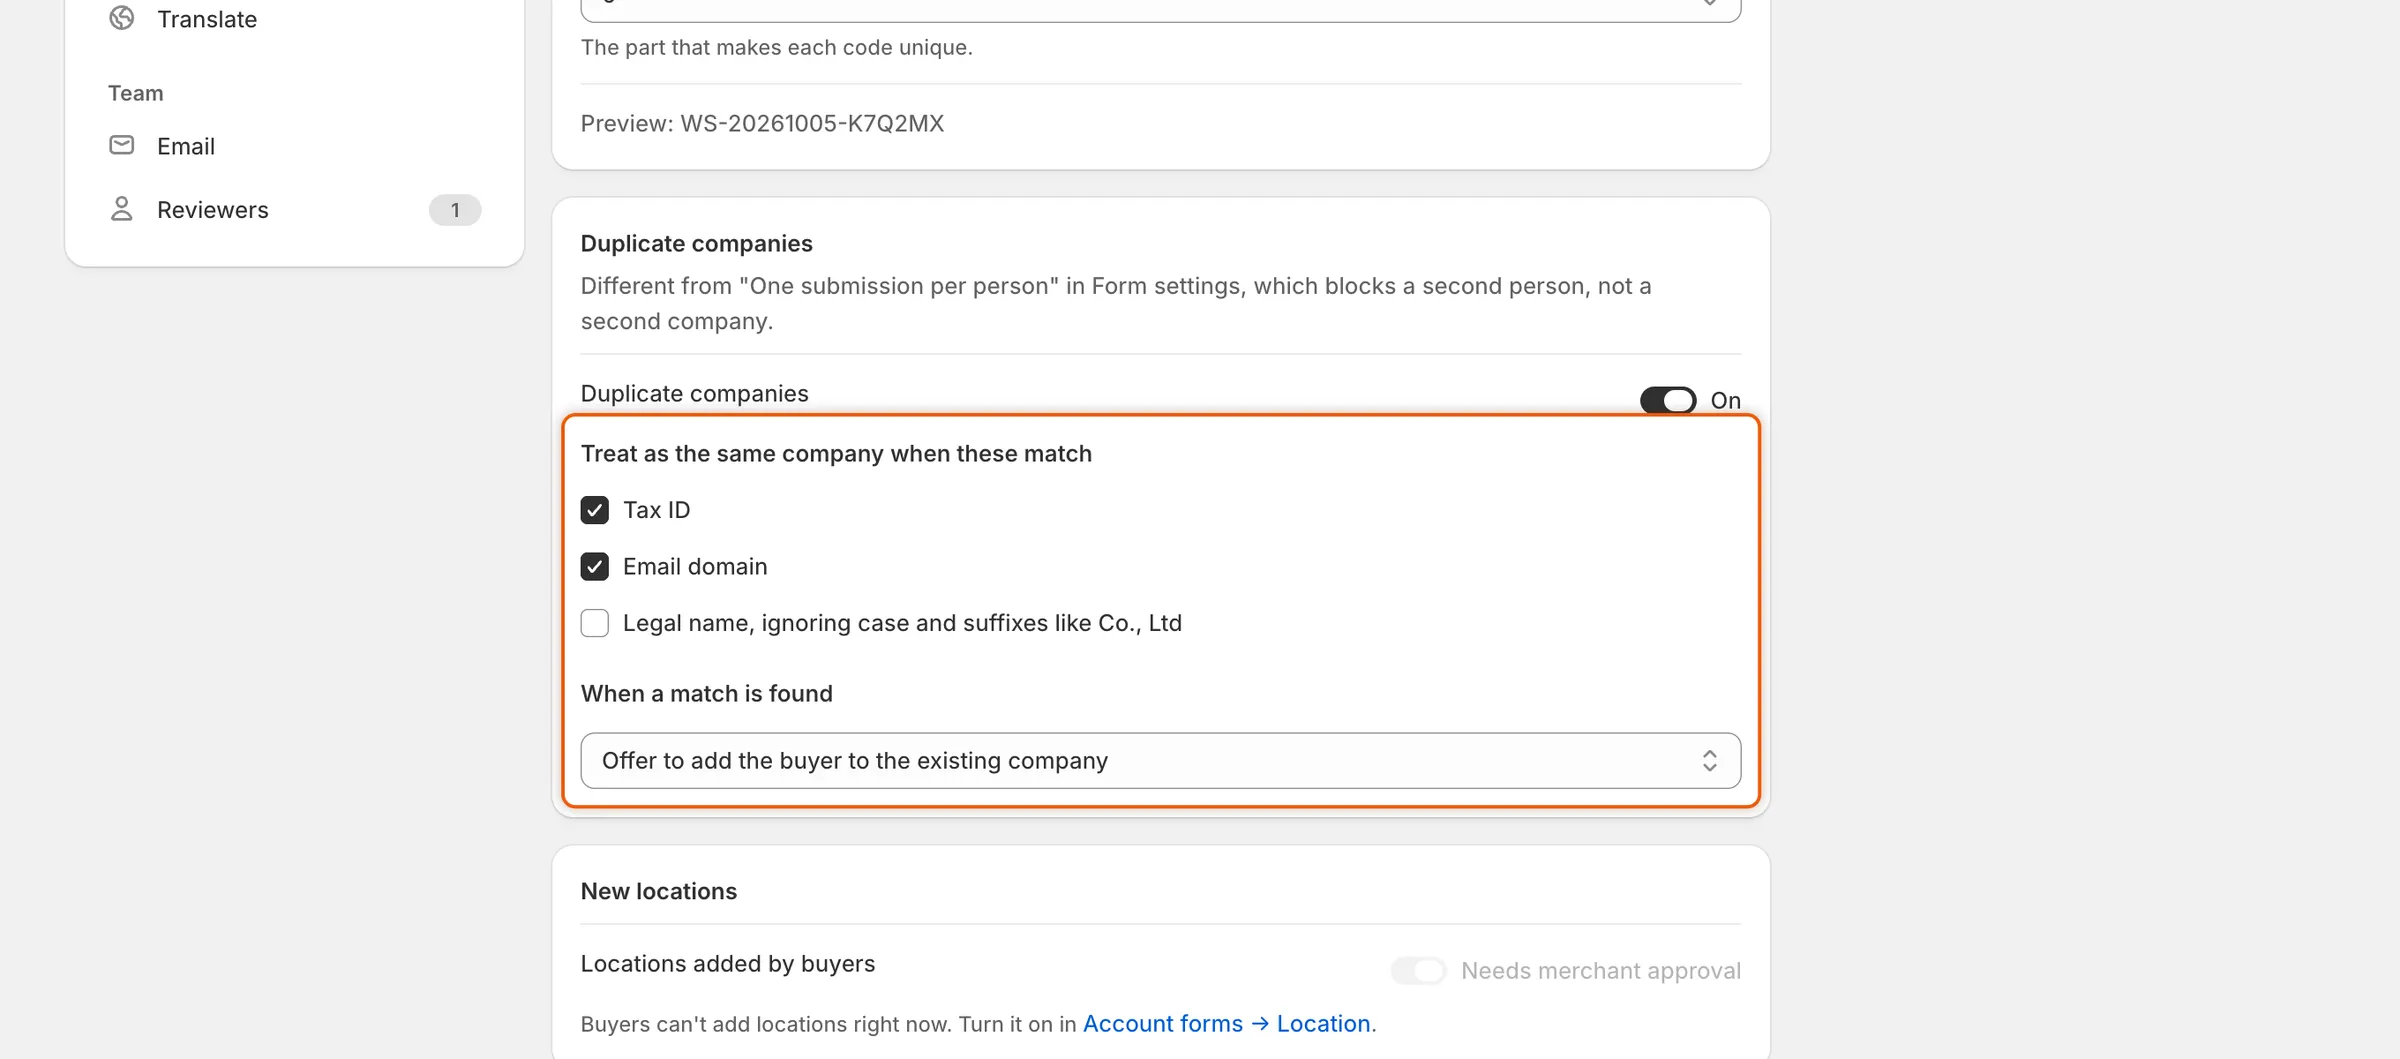
Tick what counts as the same company, then choose what the app does when it finds one.
-
Save
Click Save in the save bar. The check applies to applications sent from now on.
When an application is flagged, Settings › Activity log records the match, for example “Looks like Acme Supply Co., a company you already have”, with the reason, such as Same tax ID. A blocked submit isn’t recorded, because no application is created. To reword the message blocked buyers see, or translate it, open Translate and edit Company already has an account under Server messages.
Decide whether new locations need approval
Section titled “Decide whether new locations need approval”Approved buyers can add company locations from their customer account, when the location account form is turned on. This rule decides whether those locations wait for you.
-
Find the New locations card
In Settings › Application rules, find the New locations card.
-
Set the switch
Next to Locations added by buyers, set the Needs merchant approval switch. It’s on by default.
-
Save
Click Save in the save bar.
| Switch | What happens when a buyer adds a location |
|---|---|
| On | The location waits in Change requests. When you approve it there, the app creates it in Shopify. |
| Off | The location goes live in Shopify straight away. |
If buyers can’t add locations, the switch is greyed out and the card says so, with a link to Account forms → Location, where you can turn the location form on. This switch is the same setting as the one on the location account form, so changing it in either place changes both. See Account change requests.
Choose how long applications are kept
Section titled “Choose how long applications are kept”The Data retention card closes applications that buyers never finish, and deletes old ones you no longer need.
| Setting | What it does | Options | Default |
|---|---|---|---|
| Abandoned applications | An application waiting on the buyer, after you asked for more information, closes as abandoned when nothing happens on it for this long. Its update link stops working. | Expire after 30 days, Expire after 14 days, Never expire | Expire after 30 days |
| Rejected applications | Rejected and abandoned applications are deleted for good after nothing has happened on them for this long, with their files and timeline. | Keep for 1 year, Keep for 90 days, Keep indefinitely | Keep for 1 year |
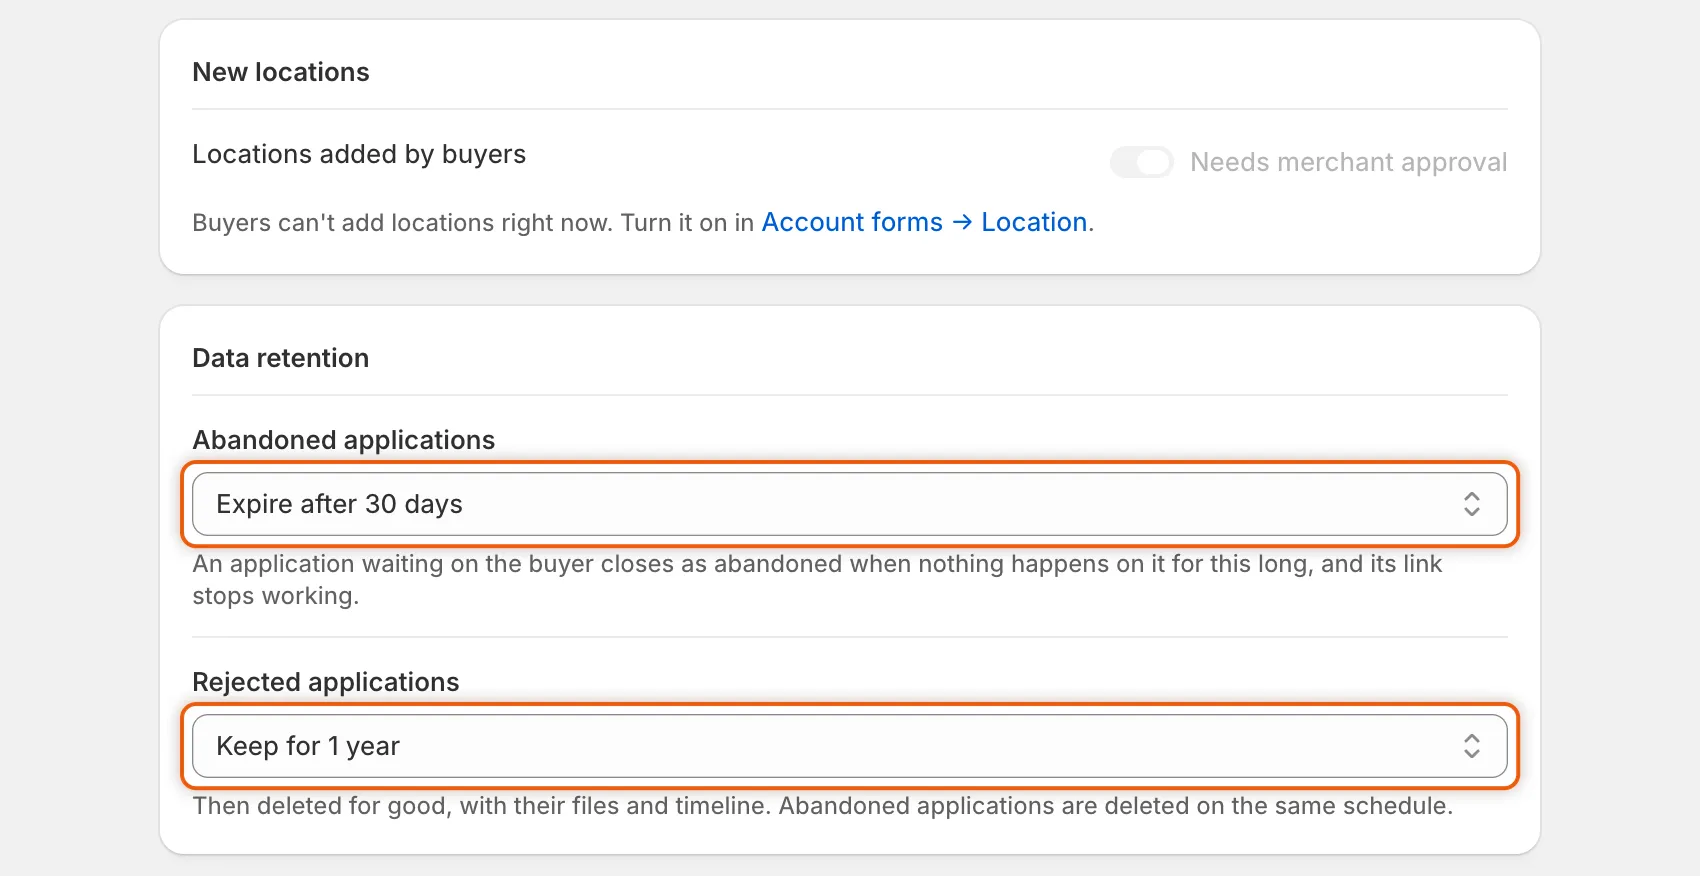
Abandoned applications close after the first period, and rejected and abandoned ones are deleted after the second.
Pick an option in each list and click Save in the save bar. The app checks once a day. Each run that closes or deletes something adds an Applied data retention line to the activity log, with how many applications expired and how many were deleted. An abandoned application’s timeline says “Closed Acme Supply Co.: the buyer didn’t answer”.
Next steps
Section titled “Next steps”- Review an application — see the Possible duplicate card on a flagged application.
- Request more information — how an application ends up waiting on the buyer.
- Rules that decide applications — what your rules do with a flagged application.
- Activity log — find duplicate matches and retention runs.