
Banners
Create a banner
Build a banner from a starter template and publish it to your storefront.
This is the whole path, from an empty Banners page to a bar a shopper can see.
-
Open Banners and start one
In the app menu, click Banners, then Create banner.
If this is your first one, the page shows Create your first banner with the same button in the middle.
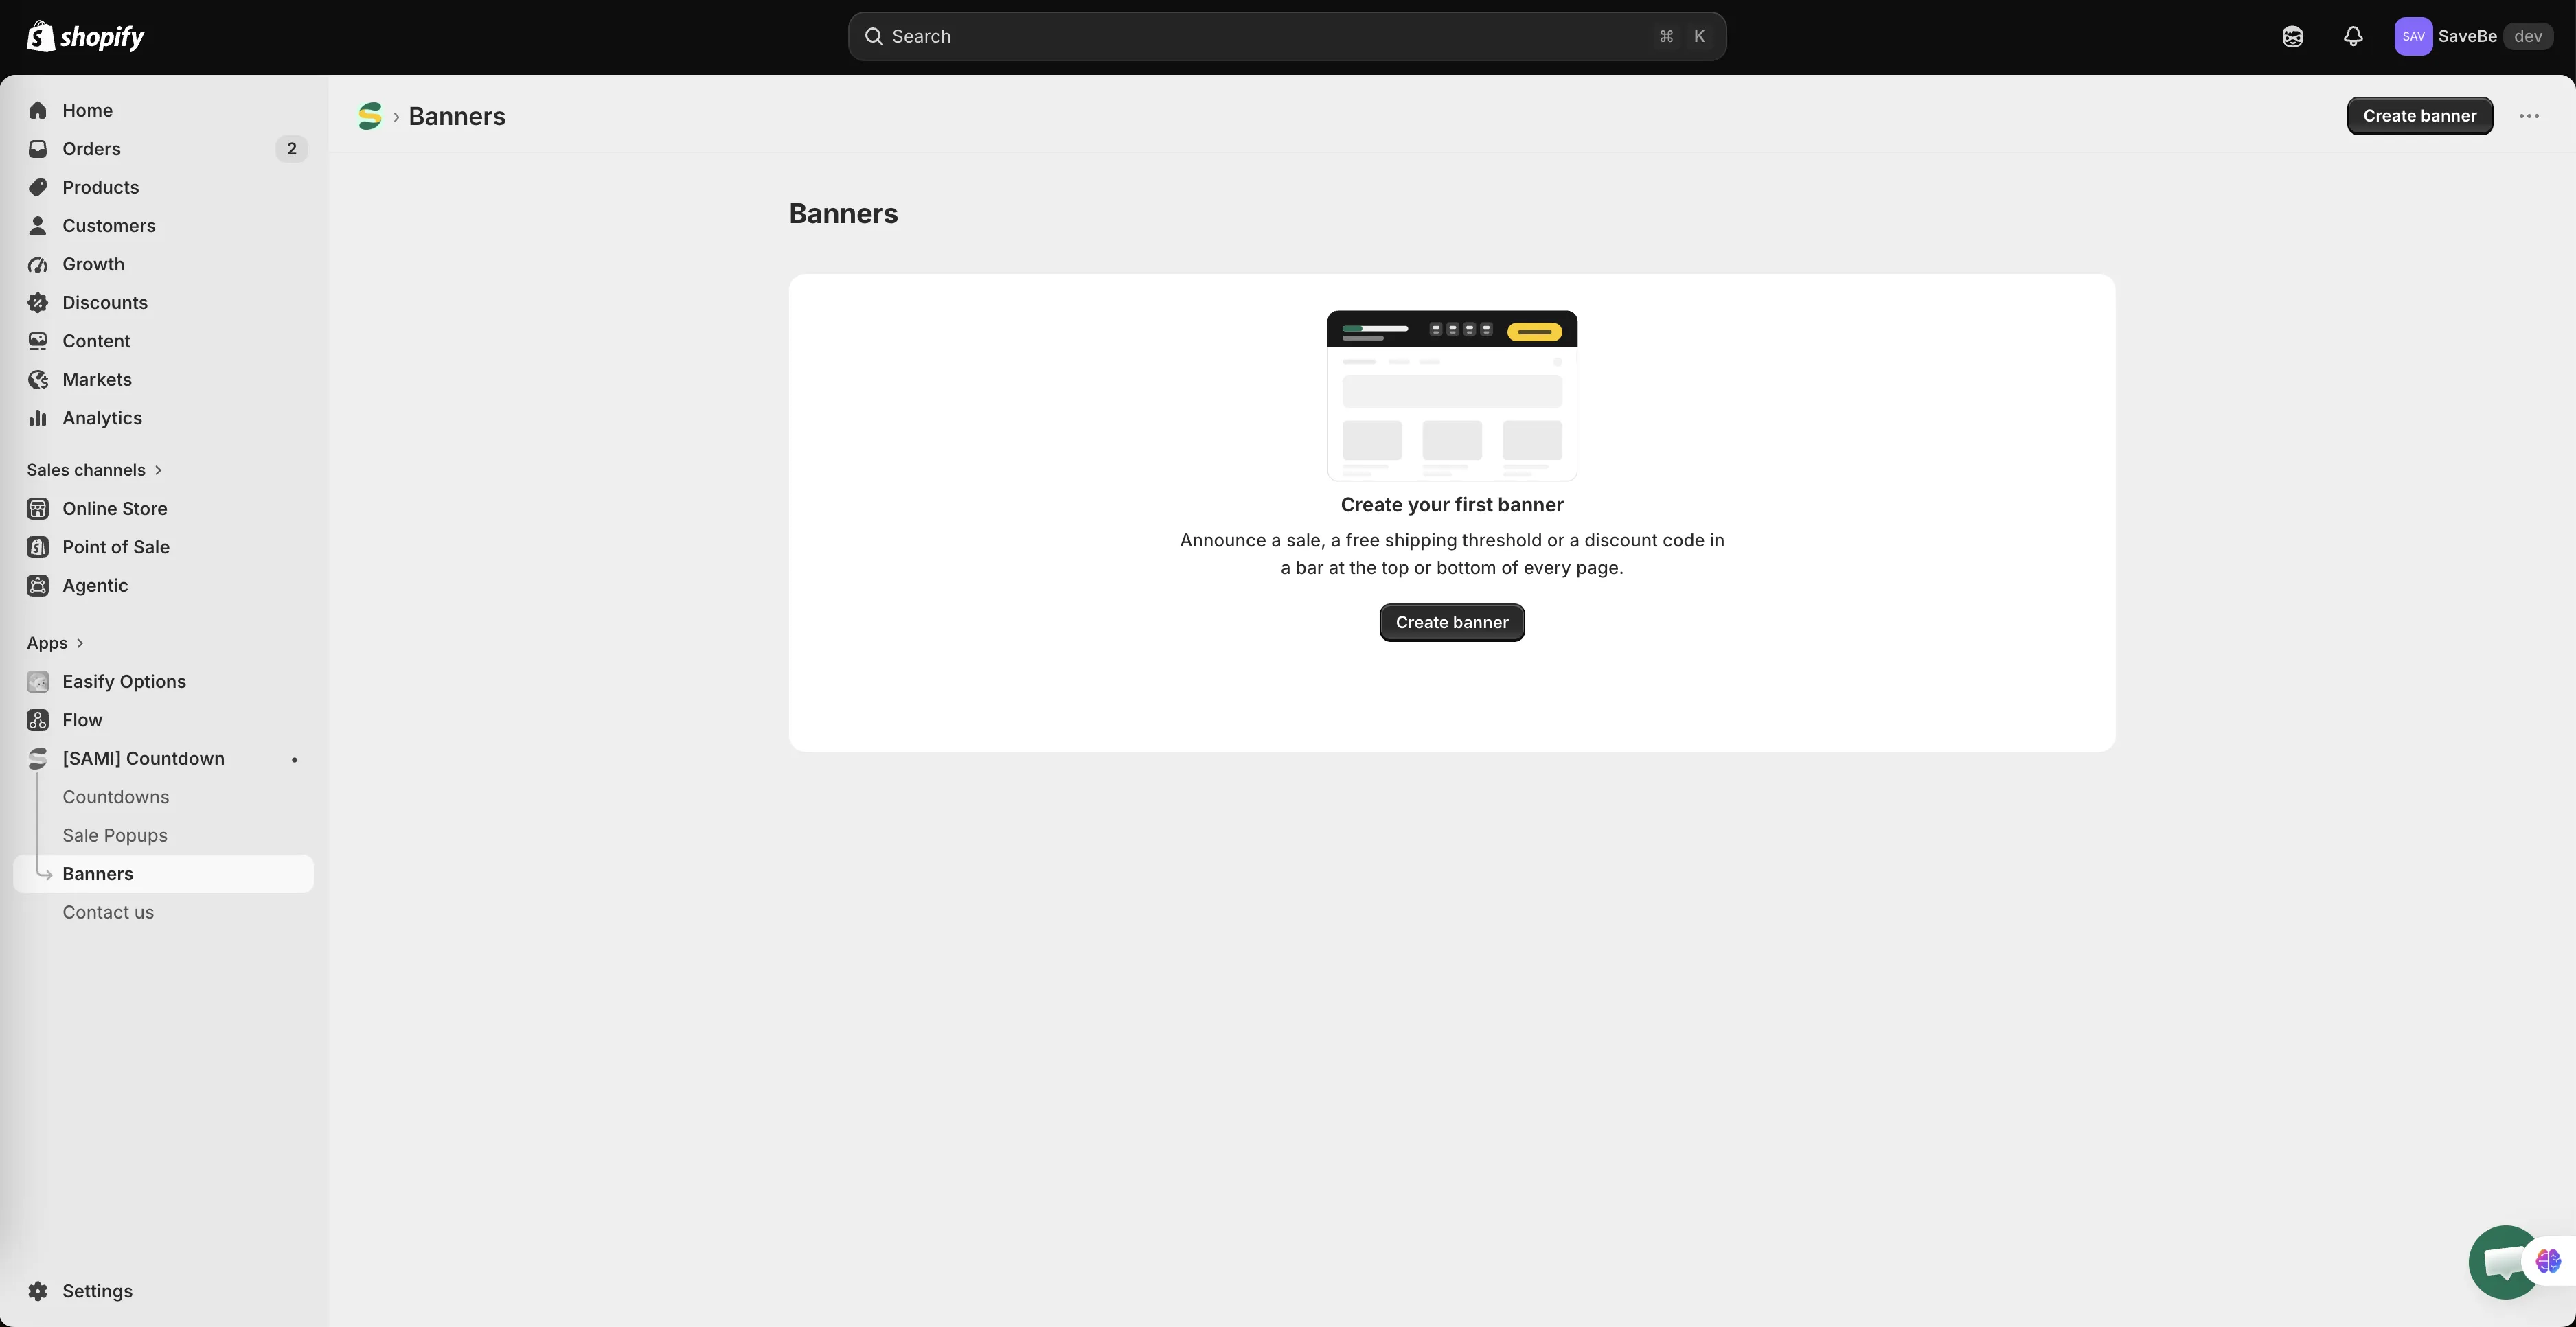
The Banners page before you have made one.
-
Pick a starting point
A dialog opens with ten starters, grouped by what they’re for. Click one on the left and the preview on the right shows the bar as it will sit on a page.
Group Starters Sale and urgency Flash sale, Black Friday, Selling fast, Sticky footer Discount code Discount code, Welcome offer Shipping Free shipping, Shipping cutoff Announcement Announcement, New arrivals Under the preview, small labels say what’s inside — Text, Countdown, Button — and where it sits.
Prefer to build from nothing? Choose Start from blank at the foot of the list.
Click Use this template.
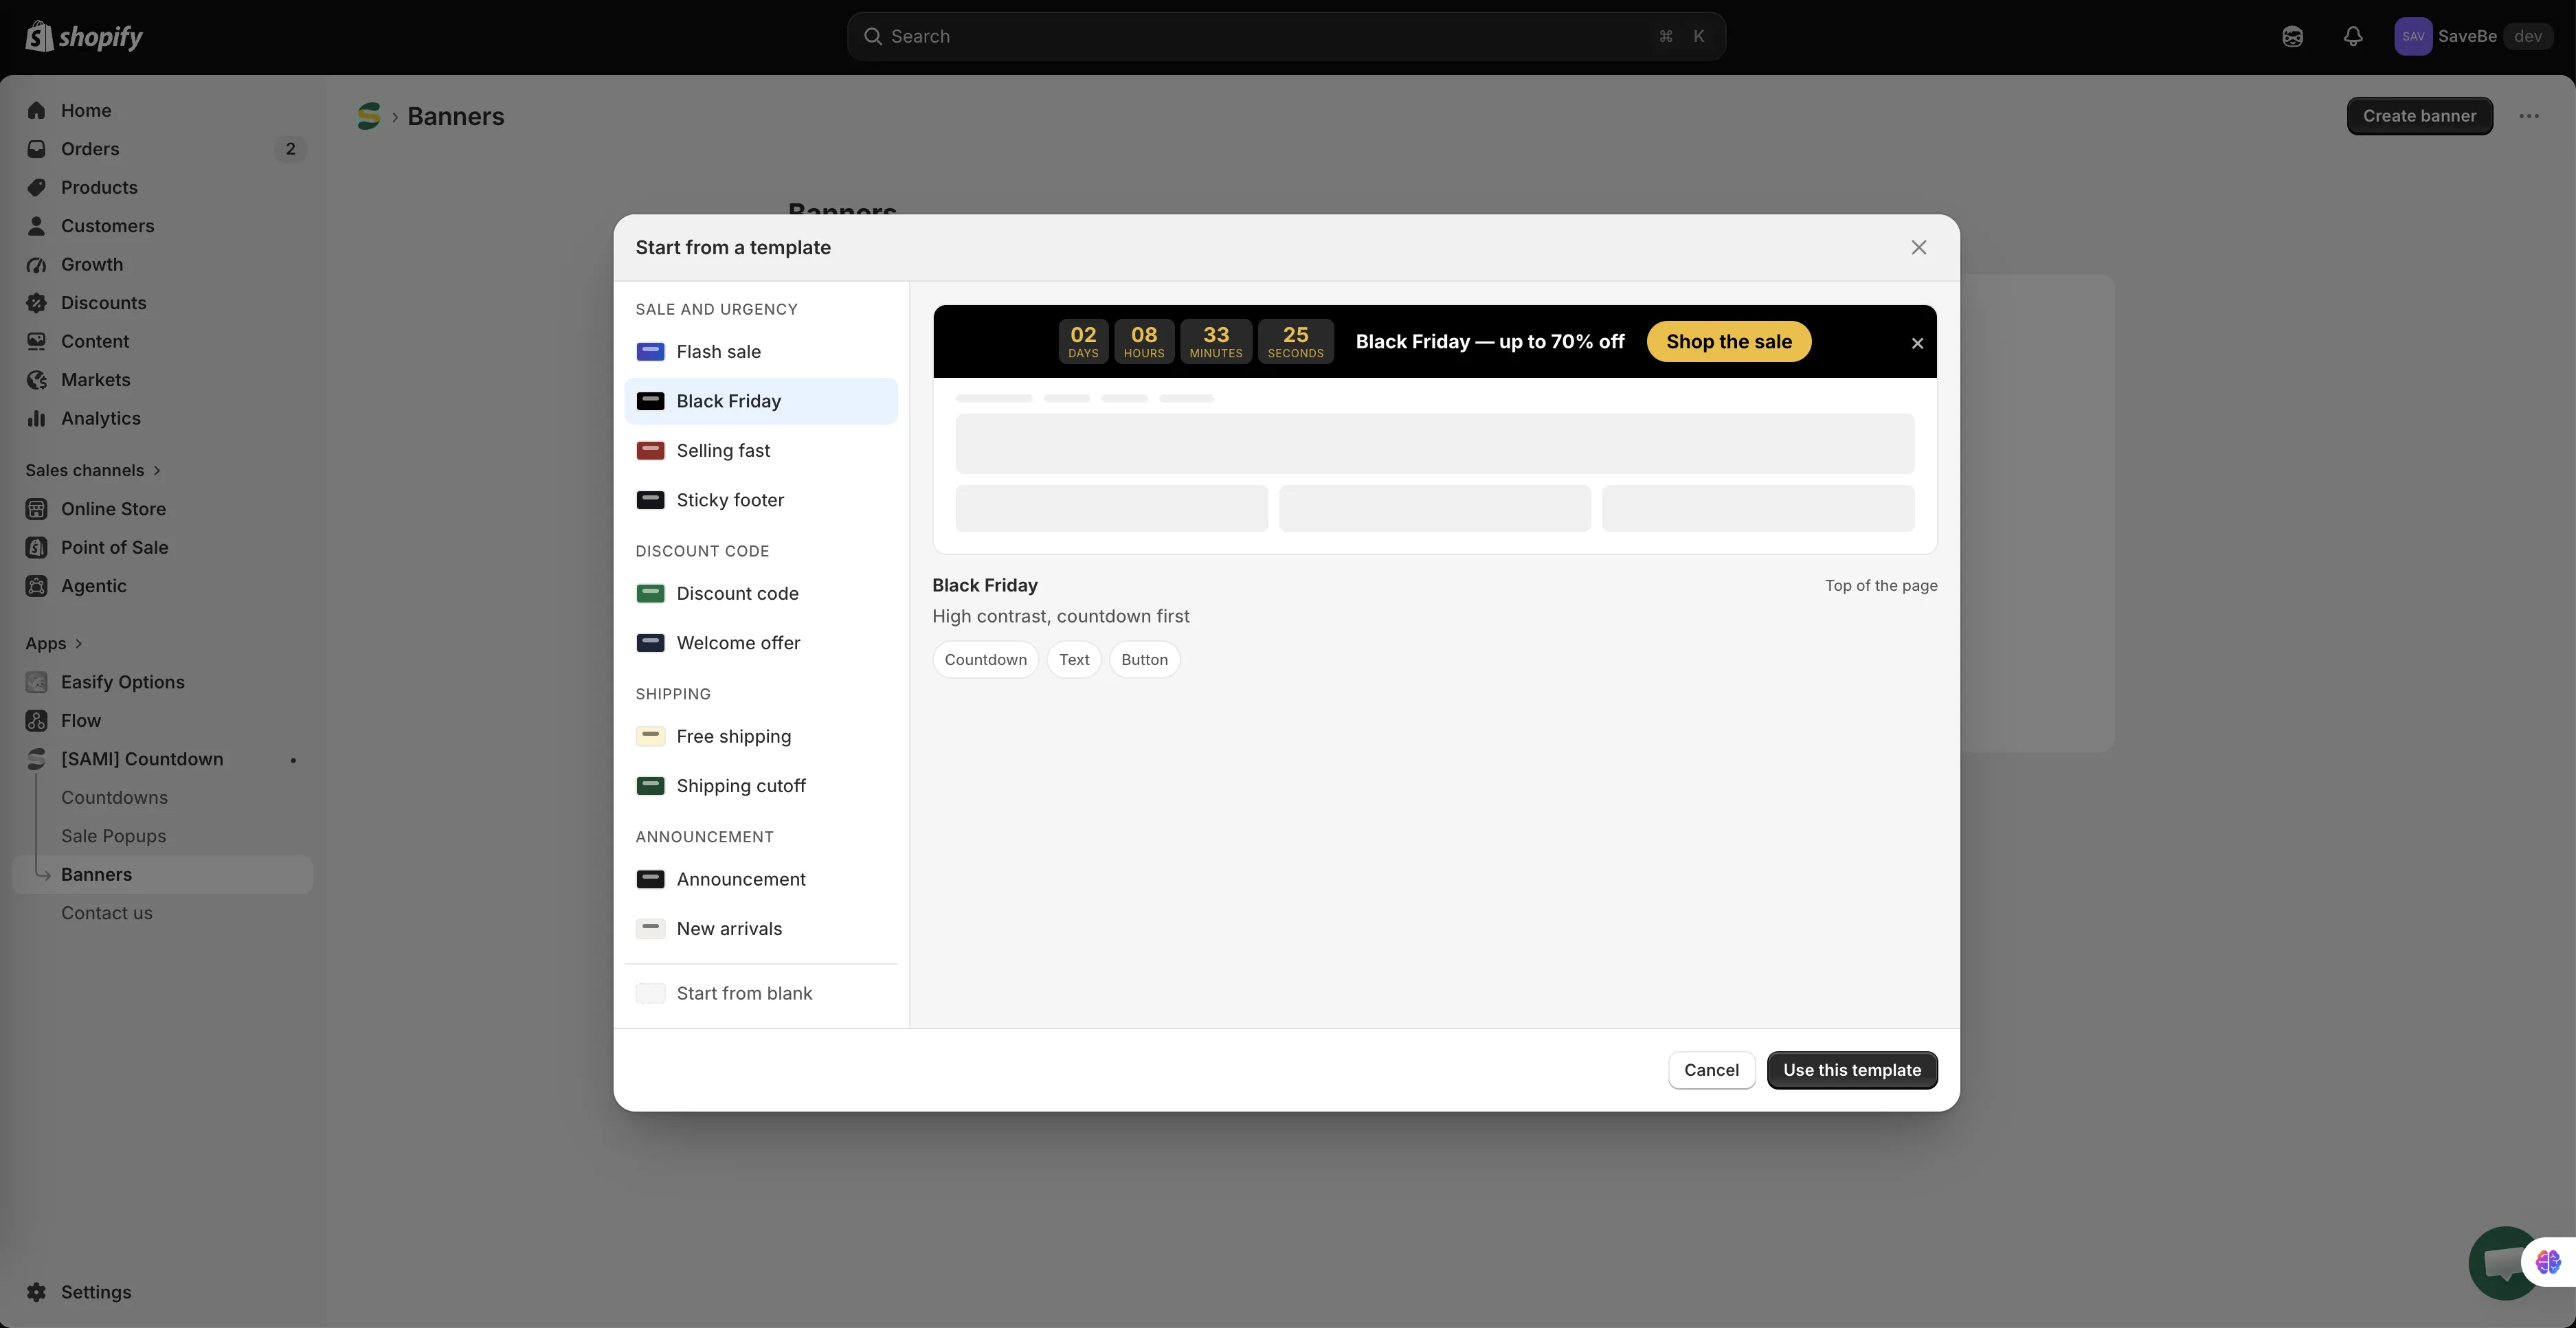
Every starter can be changed afterwards — nothing in it is fixed.
-
Name it
The builder opens. At the top left, replace the name with something you’ll recognise in the list — “Black Friday top bar”, not “Banner 3”.
The counter beside the field shows how much room is left.
-
Write what the bar says
The Content panel lists the elements in the bar. Click one and its settings open in the column on the right.
- Click Text to change the message
- Click Countdown to set the end date
- Click Button to change the label and where it goes
- Drag the handle at the left of a row to reorder
- Add element puts a new one at the end
See Bar content and elements for what each element can do.
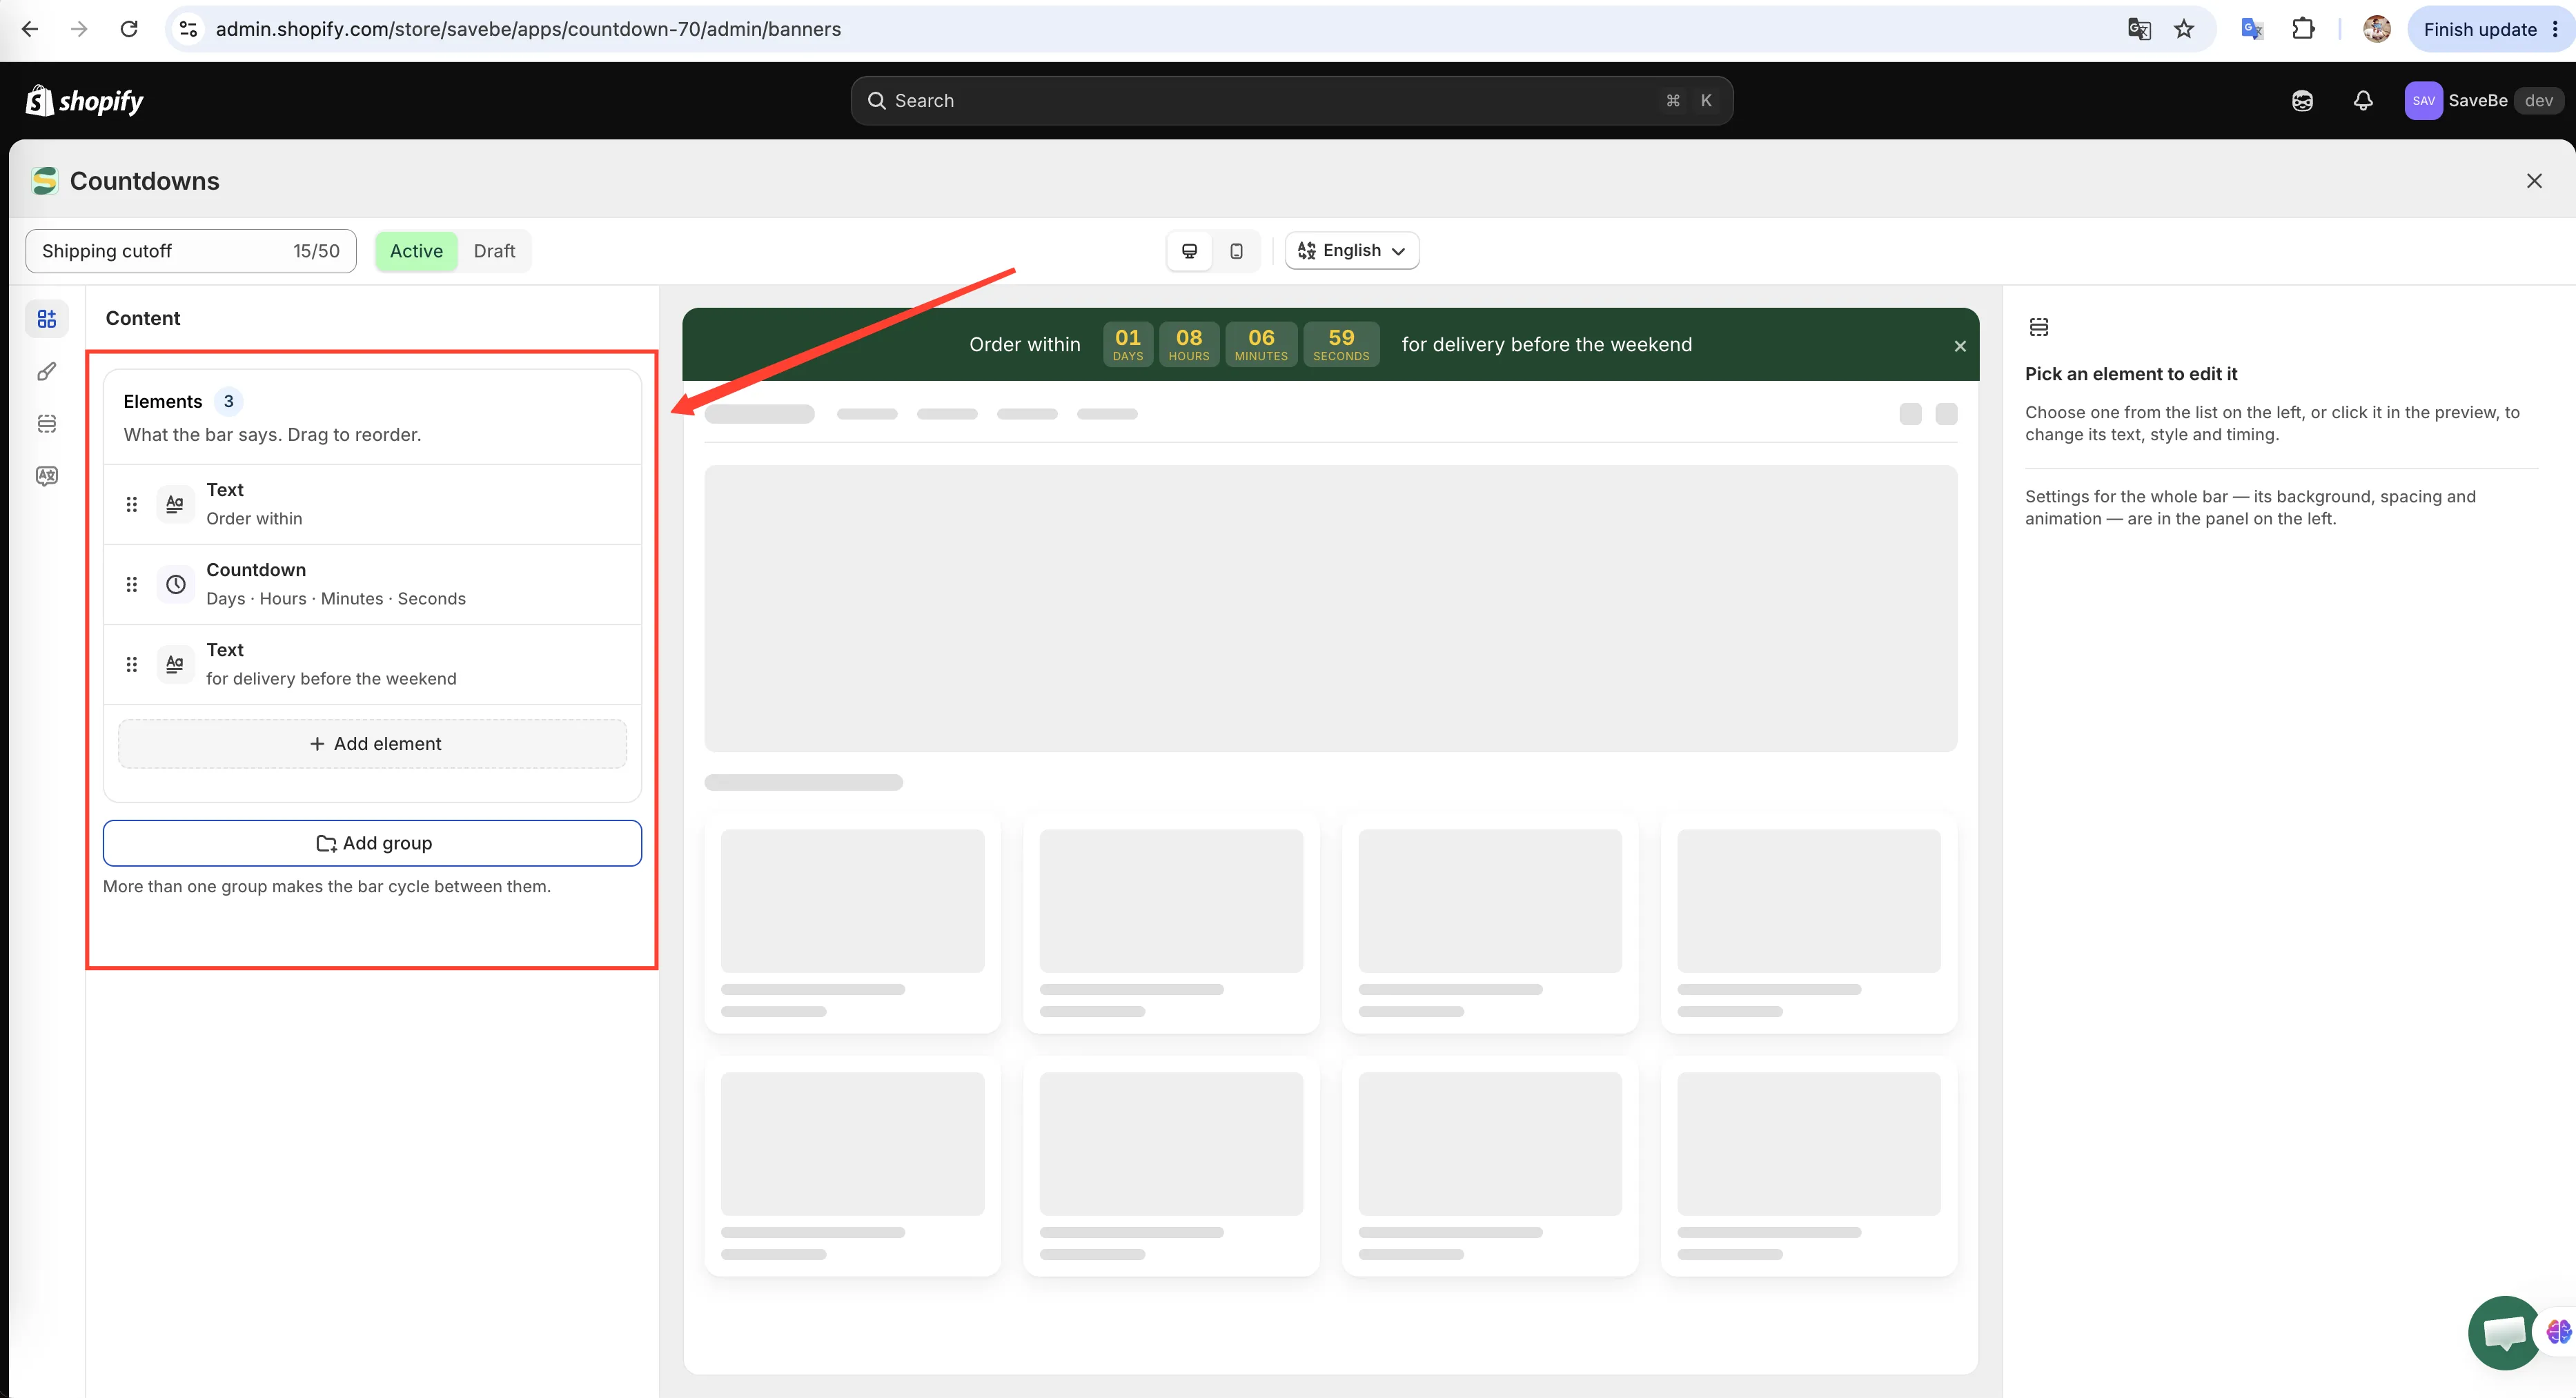
Pick an element on the left, change it on the right.
-
Style it
Open the Design panel — the brush icon in the rail.
Set the background, the text and accent colours, how much room the bar takes, and whether shoppers can close it. See Design a banner.
-
Choose where it goes
Open the Placement panel — the third icon in the rail.
- Top of the page pushes the page down; Bottom of the page pins it to the foot of the screen
- Stay on screen keeps it in view as the shopper scrolls
- Conditions decide which pages get it — leave it on All pages to show it everywhere
- Devices limits it to desktop or mobile
- Schedule turns it on and off by itself
-
Check the preview
The middle of the builder shows the bar on a stand-in storefront page. The two icons at the top switch between the desktop and mobile widths — worth a look, because a bar that reads well on a laptop can be cramped on a phone.
-
Set it Active and save
Beside the name, switch from Draft to Active, then click Save.
Draft saves the banner without showing it to anyone. Active is what puts it on the storefront.
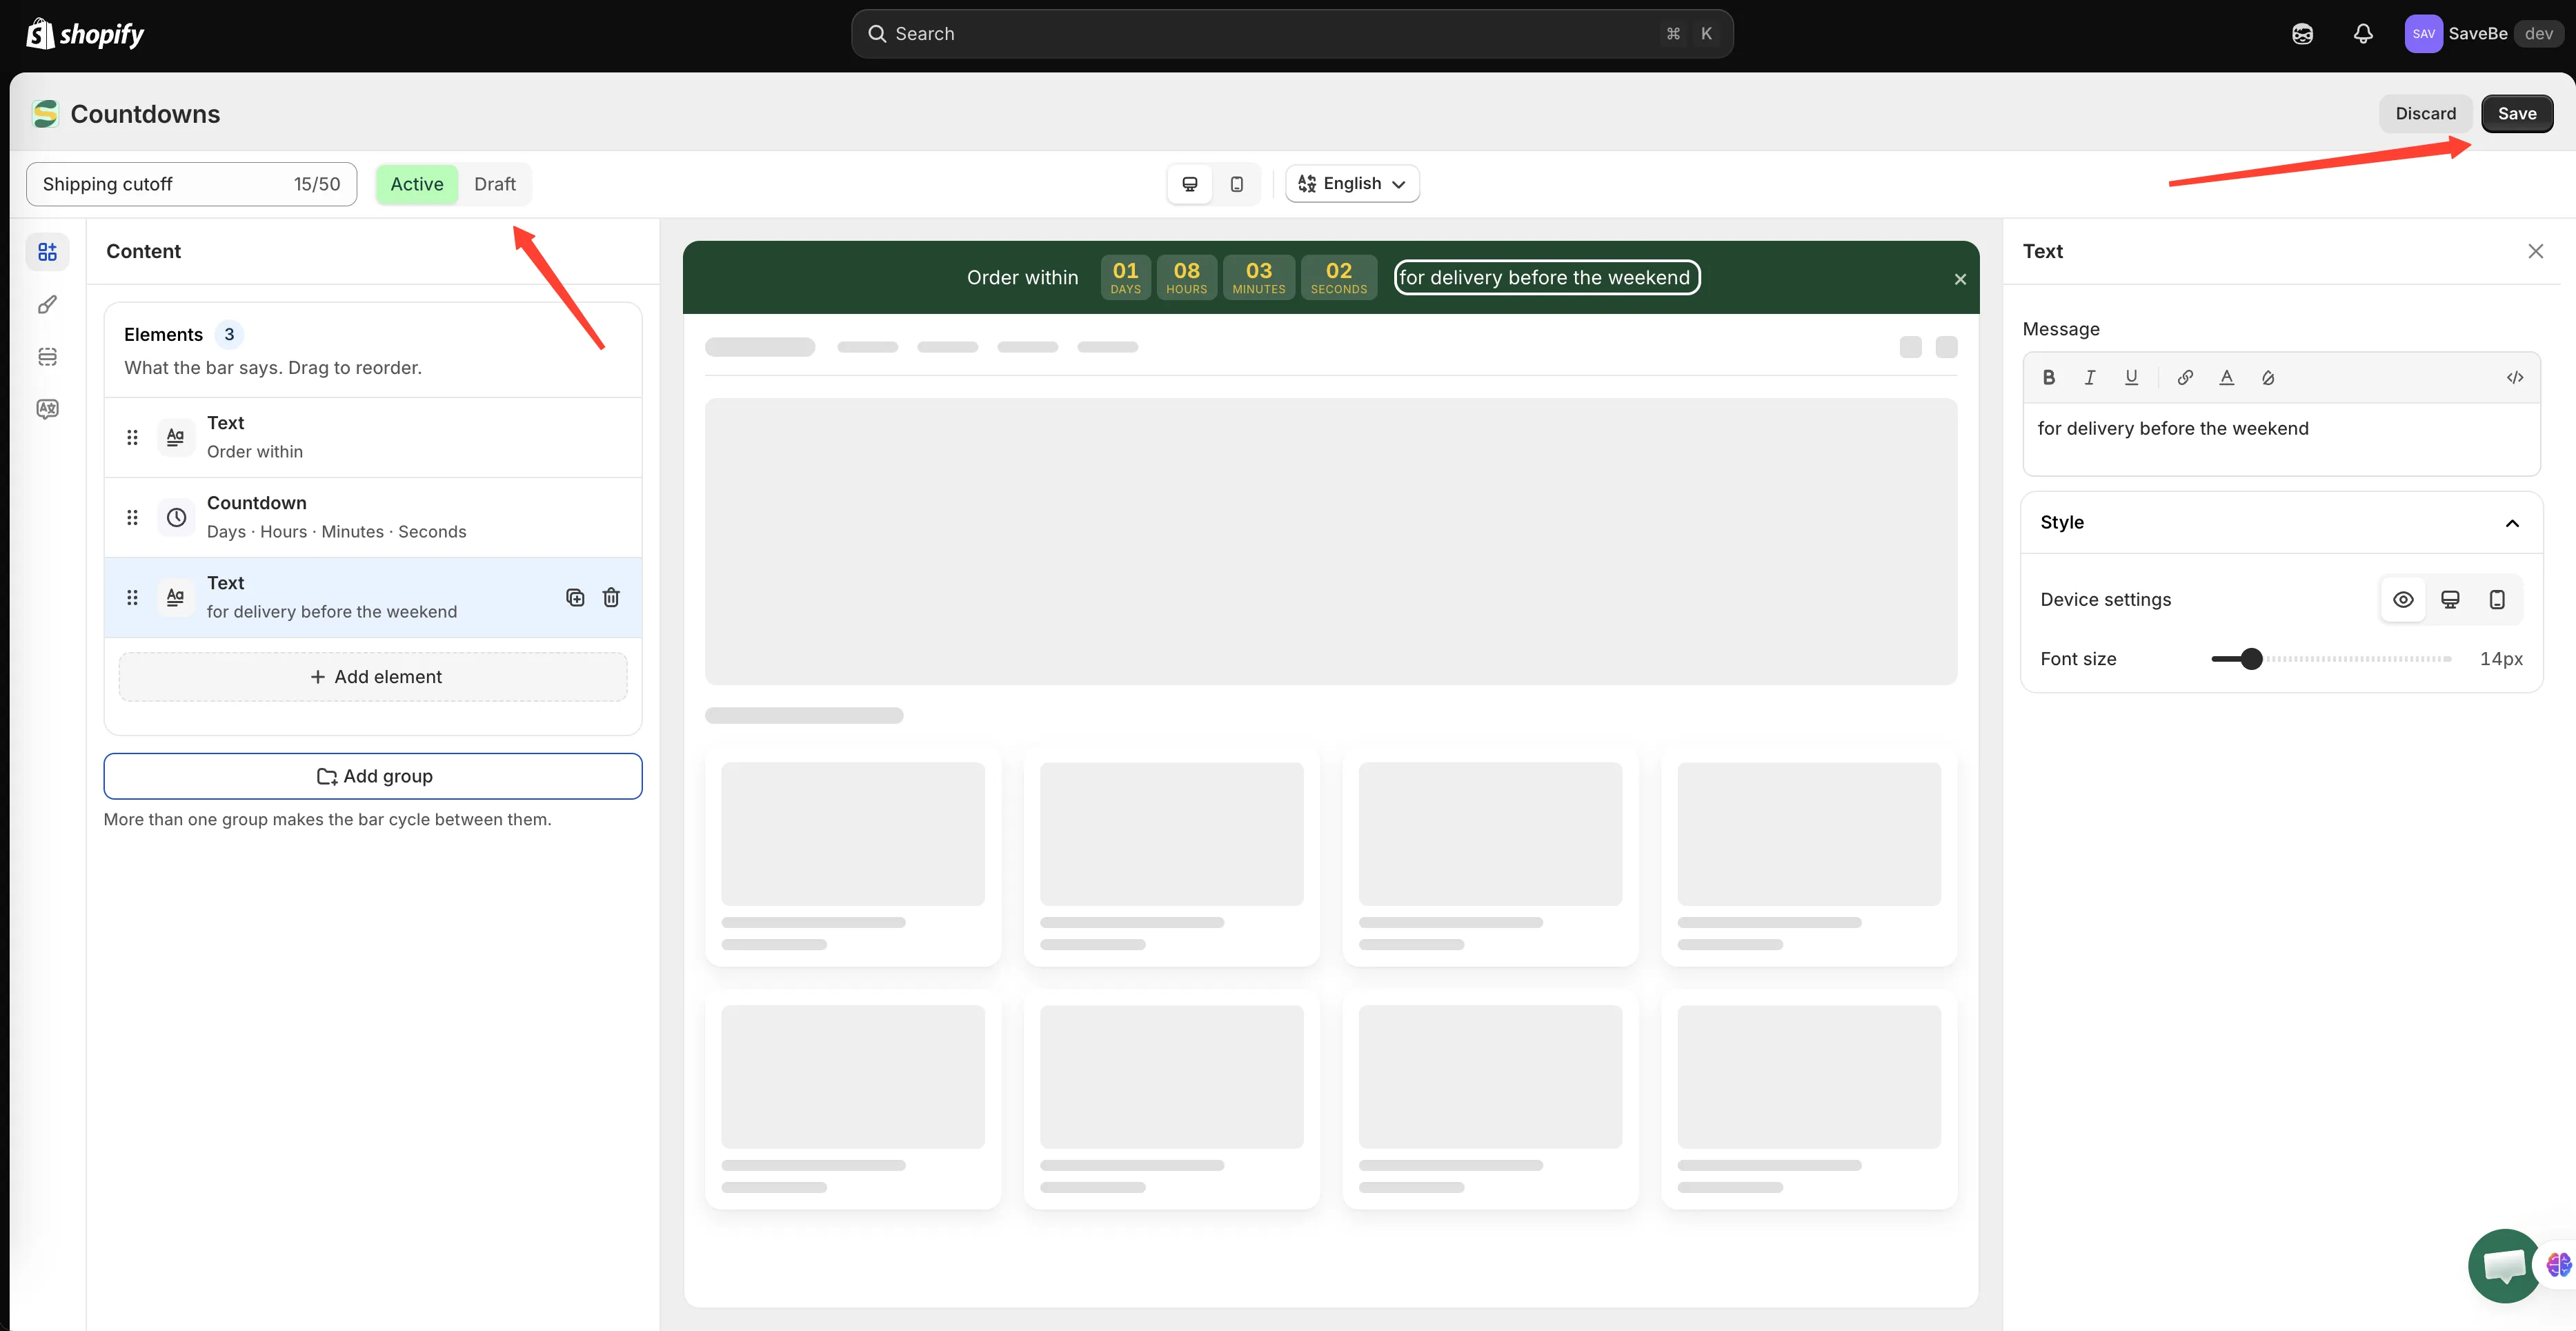
A banner has to be Active before a shopper can see it.
-
Look at your storefront
Open your shop in a new tab and reload. The bar should be at the top or foot of the page.
Not there? Work through Countdown not showing — the same checks apply to banners.
If the button needs a link
Section titled “If the button needs a link”A button set to Open a link needs a URL before the banner can be saved as Active. The starters come with /collections/all already filled in, so change it to wherever you want shoppers to land.